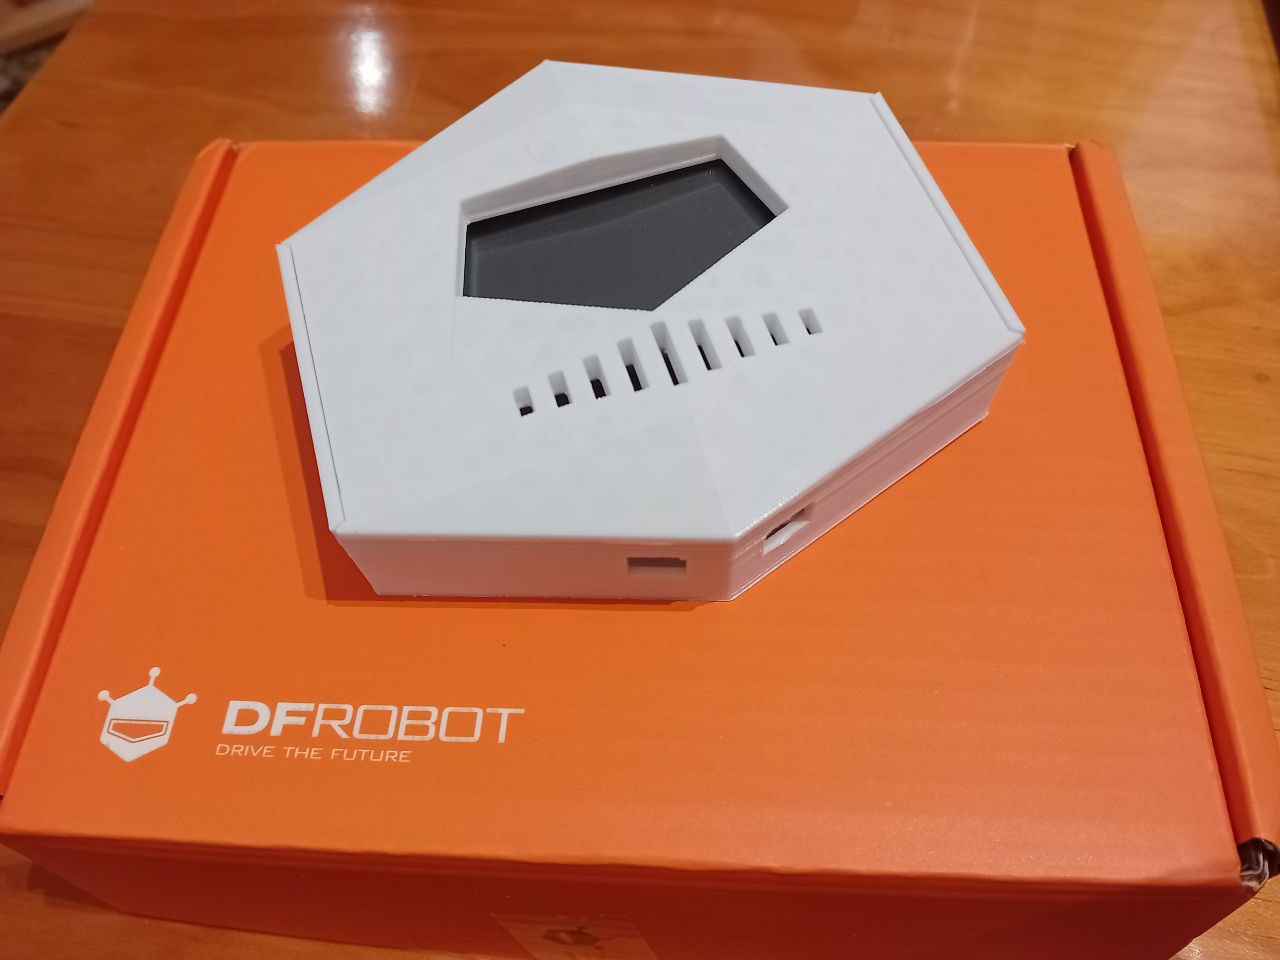
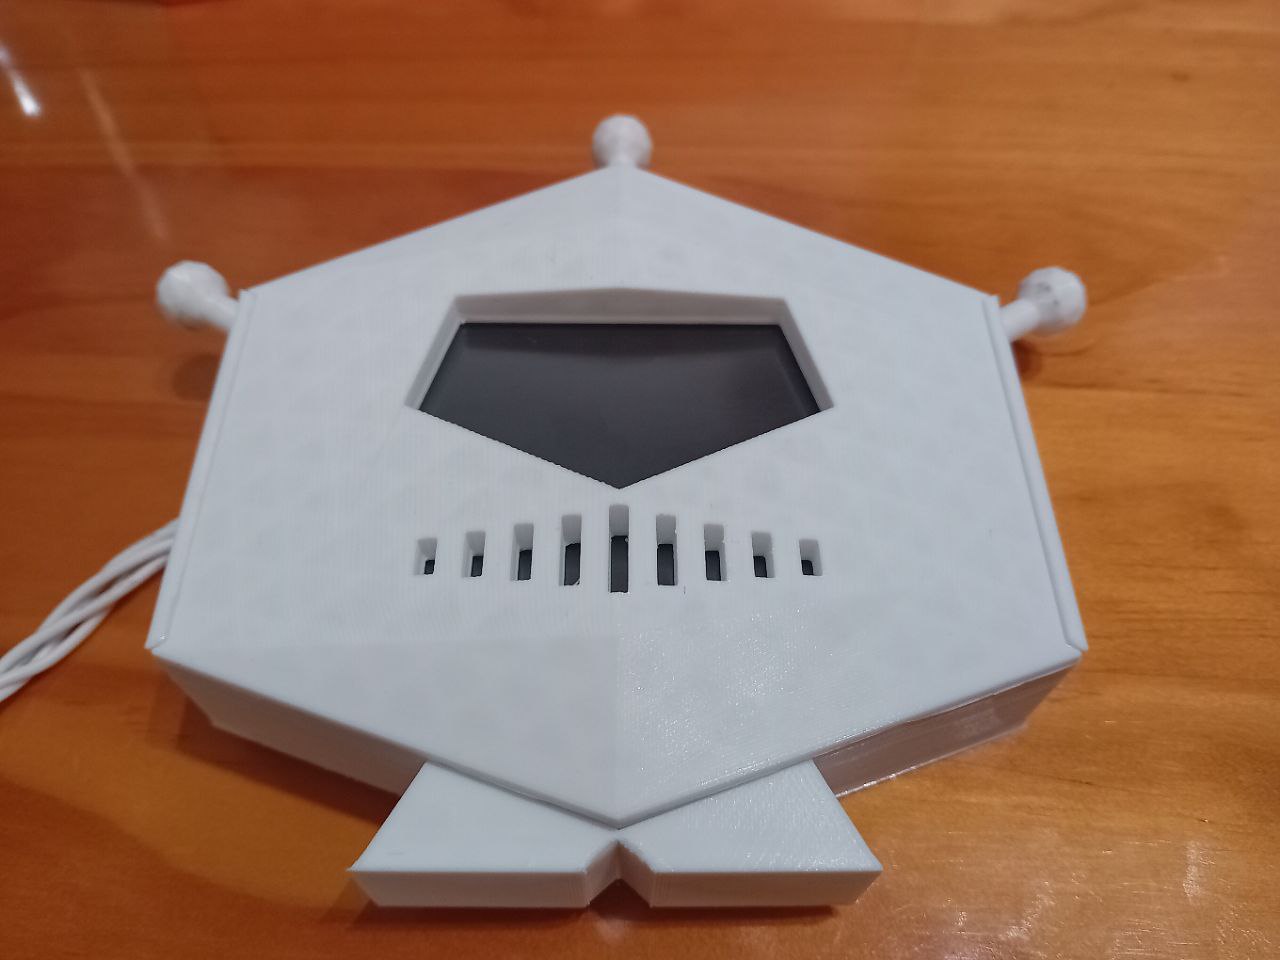
I keep experimenting with the UNIHIKER board by DFRobot and it’s incredibly fast to make things work in it. Today I’ll show you how to set up on-screen real-time temperature display in two minutes using a BMP-280 module and zero programming.
Prerrequisites
Here's the trick. I was expecting you already had a few things working before starting the countdown:
- Download and install Mind+, DFRobot's IDE for UNIHIKER.
On Linux, it is a .deb file which does take a while to install:
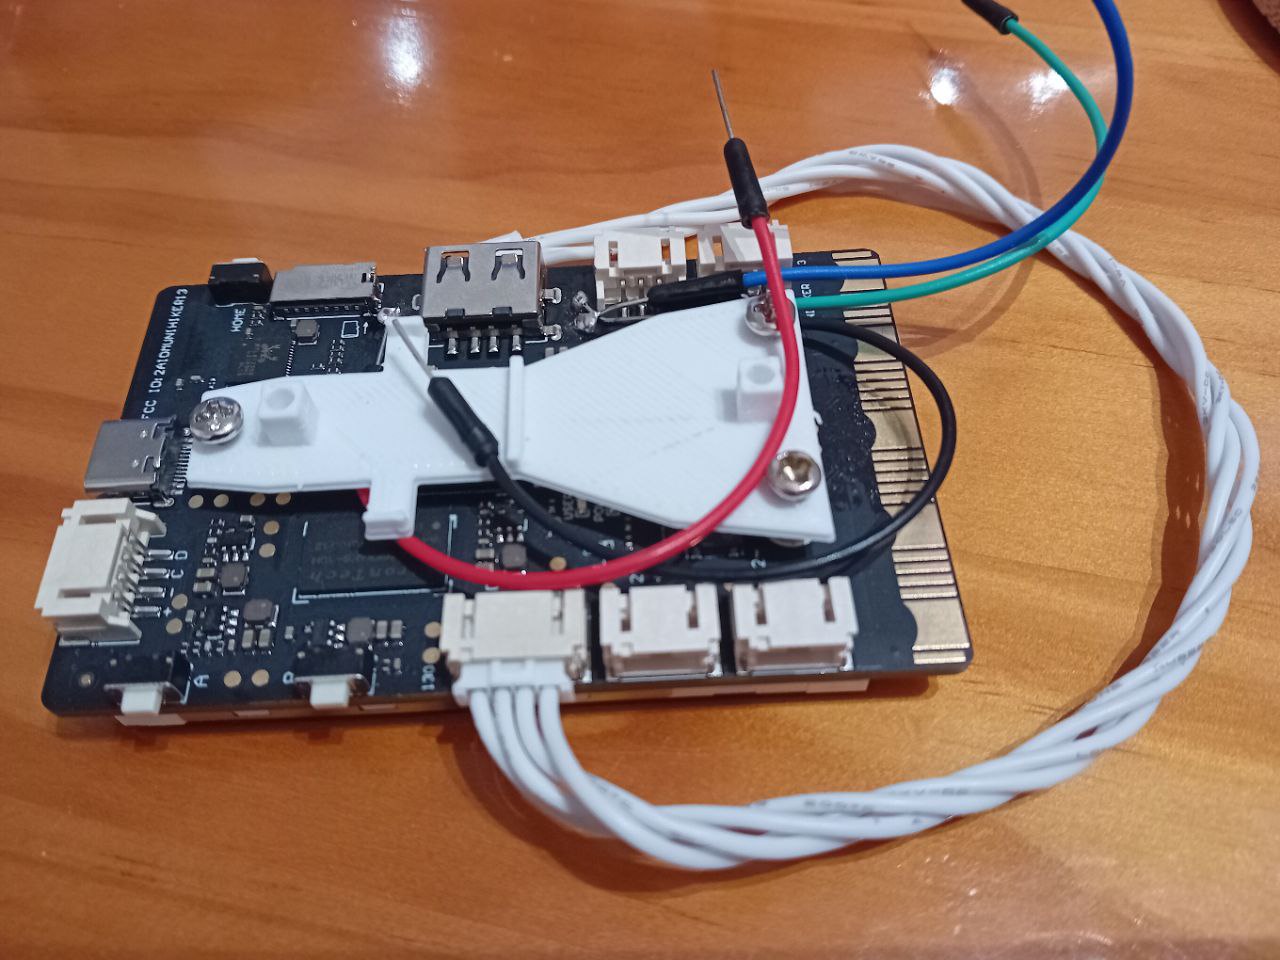
https://mindplus.cc/download-en.html - Solder a BMP-280 temperature and pressure module and connect it to the I2C cable. You might need to bend your pins slightly as the connector seems to be 1mm nano JST.
- Plug the UNIHIKER to your PC using the provided USB-C cable and connect to it via Mind+ just like recommended in the official wiki:
https://www.unihiker.com/wiki/get-started#4.4.%20Programming%20on%20Mind+
You're ready to go!
Set-up
- In Mind+, go to the Blocks editor and open the Extensions menu.
- Go to the pinpong tab and select the pinpong module (which enables interaction with the UNIHIKER pinout) and the BMP-280 module extension, for interaction with the temperature module.
- Go back to the Blocks editor and start building your code block. Just navigate through the different sections on the left hand side and drag all you need below the Python program start block:
- pinpong - initialize board.
- bmp280 - initialize module at standard address 0x76.
- control - forever block (to introduce a while True loop).
- unihiker - add objects to the display. I firstly add a filled rectangle object to clear previous text, then add a text object. Specify X,Y coordinates where every object will be displayed on the screen and its color.
- bmp280 - read temperature property. Drag this inside the text field of the text object.
- python - (optional) add a print to show the data on the terminal. I included all other sensor values.
- control - add a wait object and wait for 1 second before next loop.
All of it should look something like this (click to enlarge)

Launch
And that's all your program done, without any programming! Press RUN above and see how it loads and displays in your UNIHIKER screen. Touch the sensor with your finger to see how values change with the increase in temperature.

Wasn't that only 2 minutes? Let me know via Twitter ; )


