The small and efficient form factor of the UNIHIKER makes it really easy to craft a case for it.
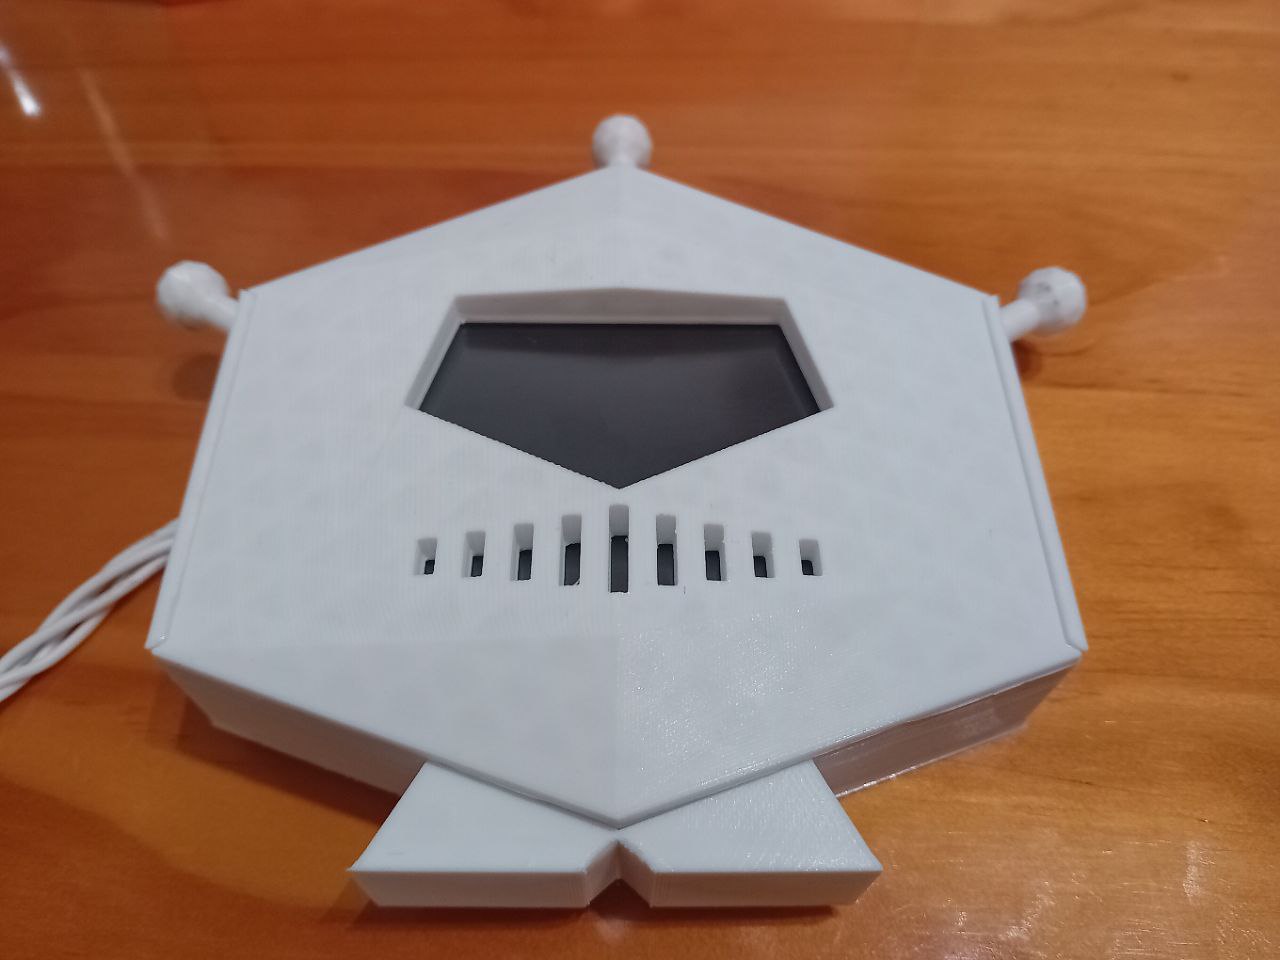
For my smart home asssistant I was looking for an android-like style, and the DFRobot logo is perfect for the UNIHIKER, making tribute to their developers.

Github Repo
I've released a github repository where I will be open-sourcing all the model files and people can contribute with their own, so feel free to create a pull request and share your designs!
https://github.com/TheRoam/DFRobot-UNIHIKER-case/
It includes a github page where models can be previewed:
https://theroam.github.io/DFRobot-UNIHIKER-case/
Unihiker_DFRcase_v1
This is my first release, used for testing and including all the basic features for my home assistant.

Files
https://github.com/TheRoam/DFRobot-UNIHIKER-case/tree/main/blender
Features
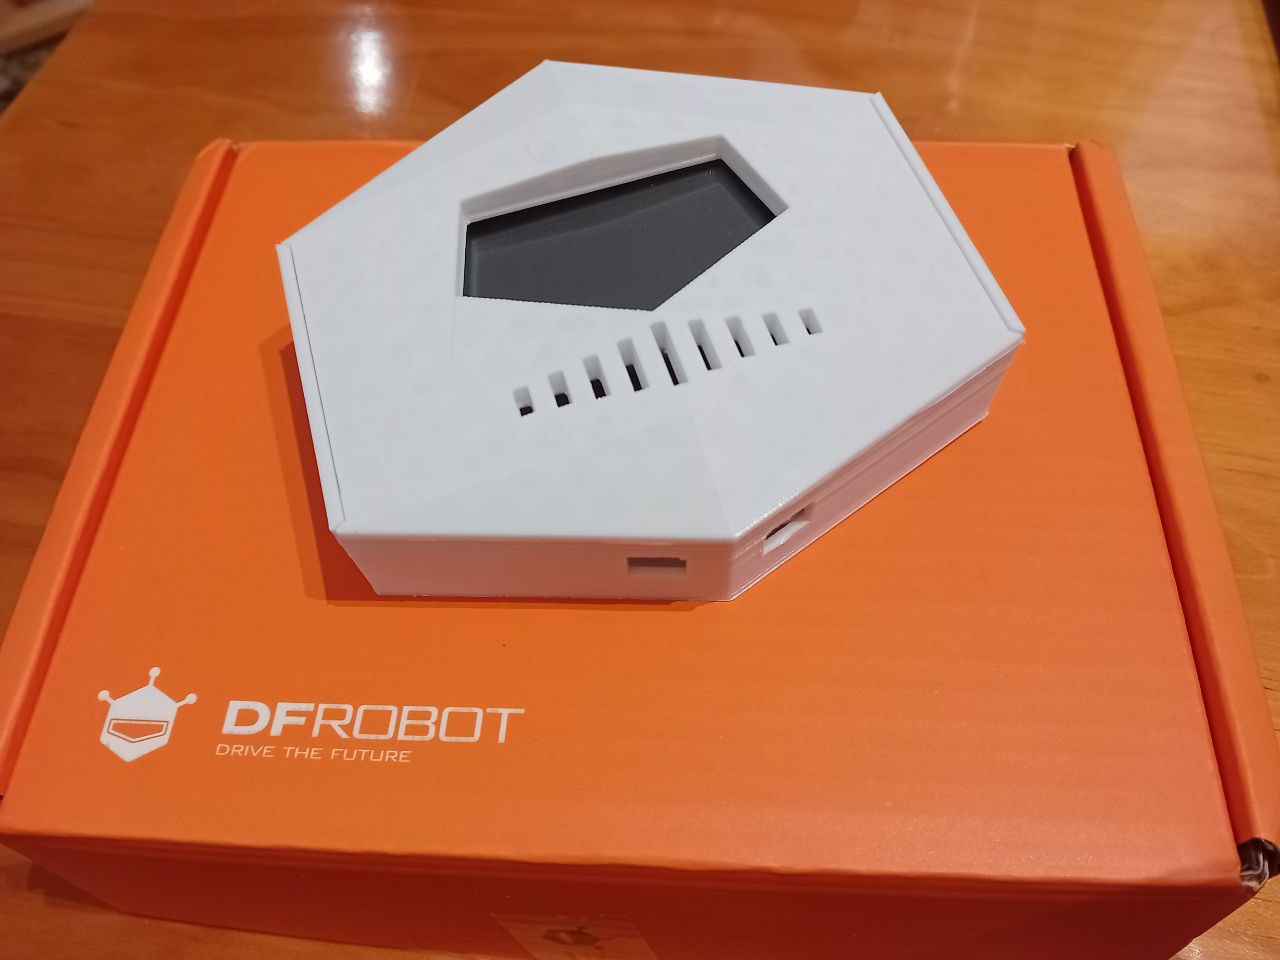
- Top openings for text display through touch screen.
- Side opening for USB-C connection.
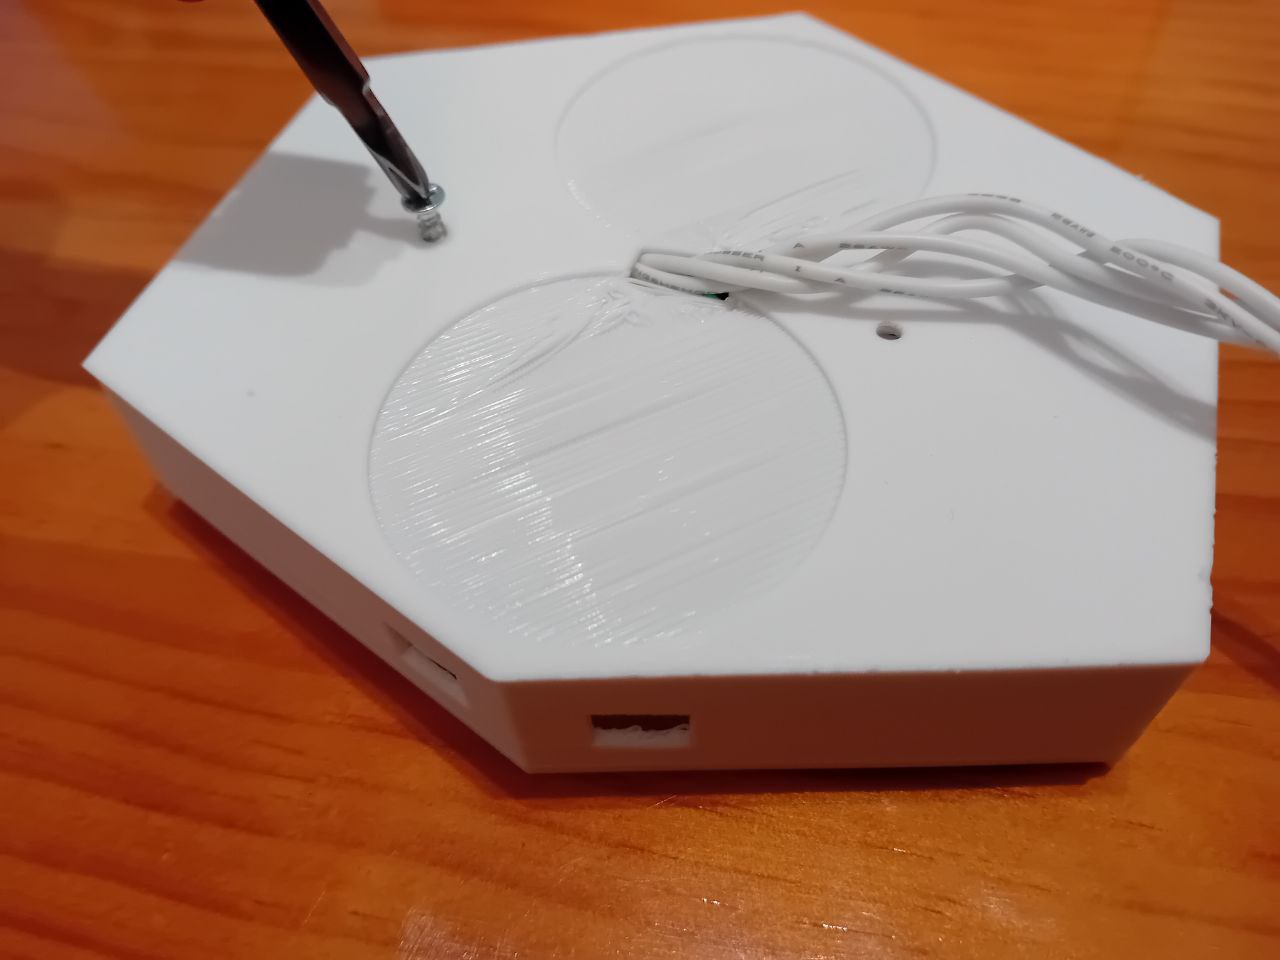
- Back opening for external sensor cabling.
- Back extrusions for 40mm speaker placement.
- Foot-like support for vertical standing.
Case parts
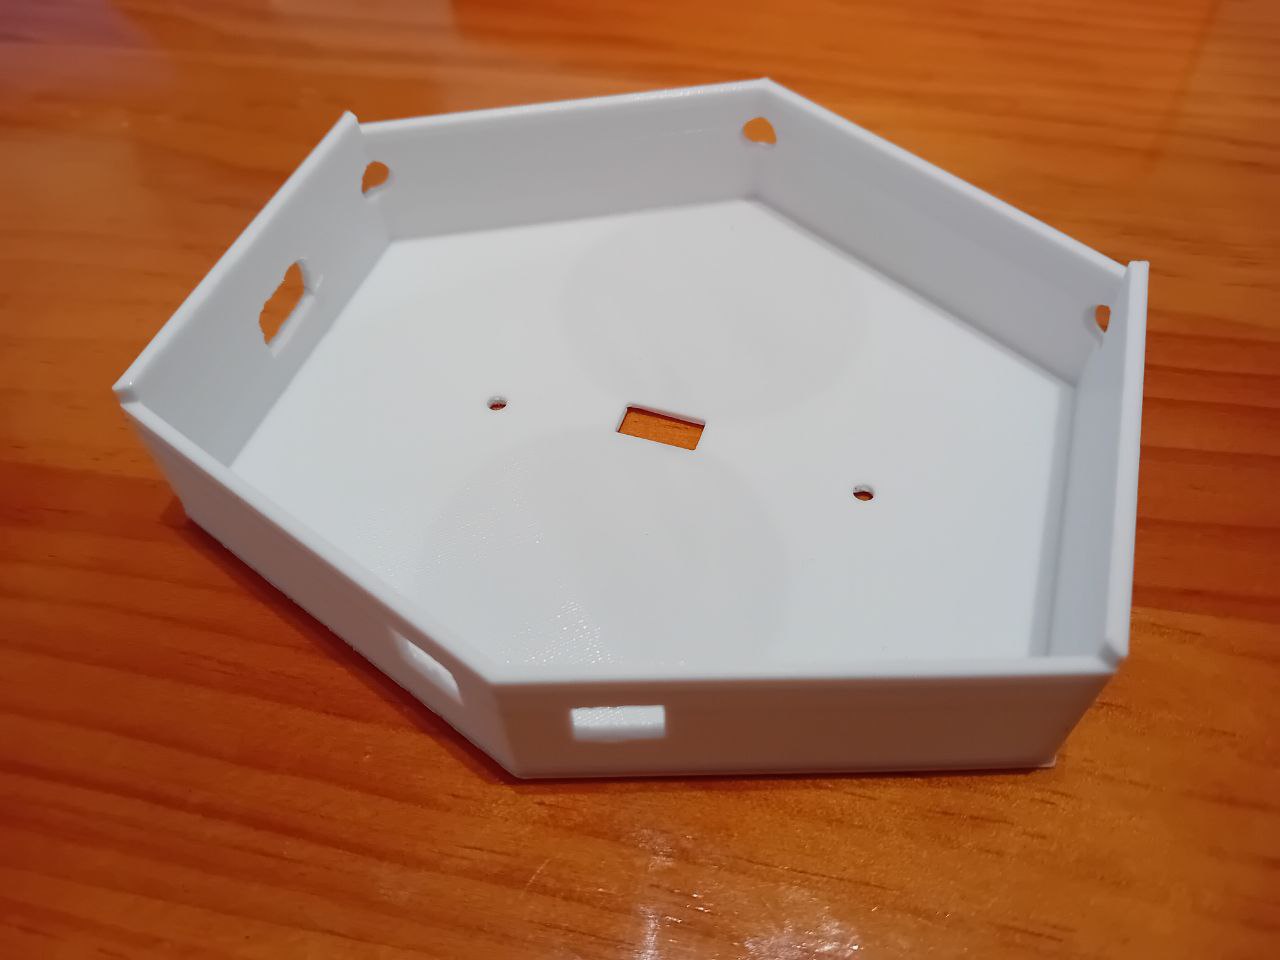
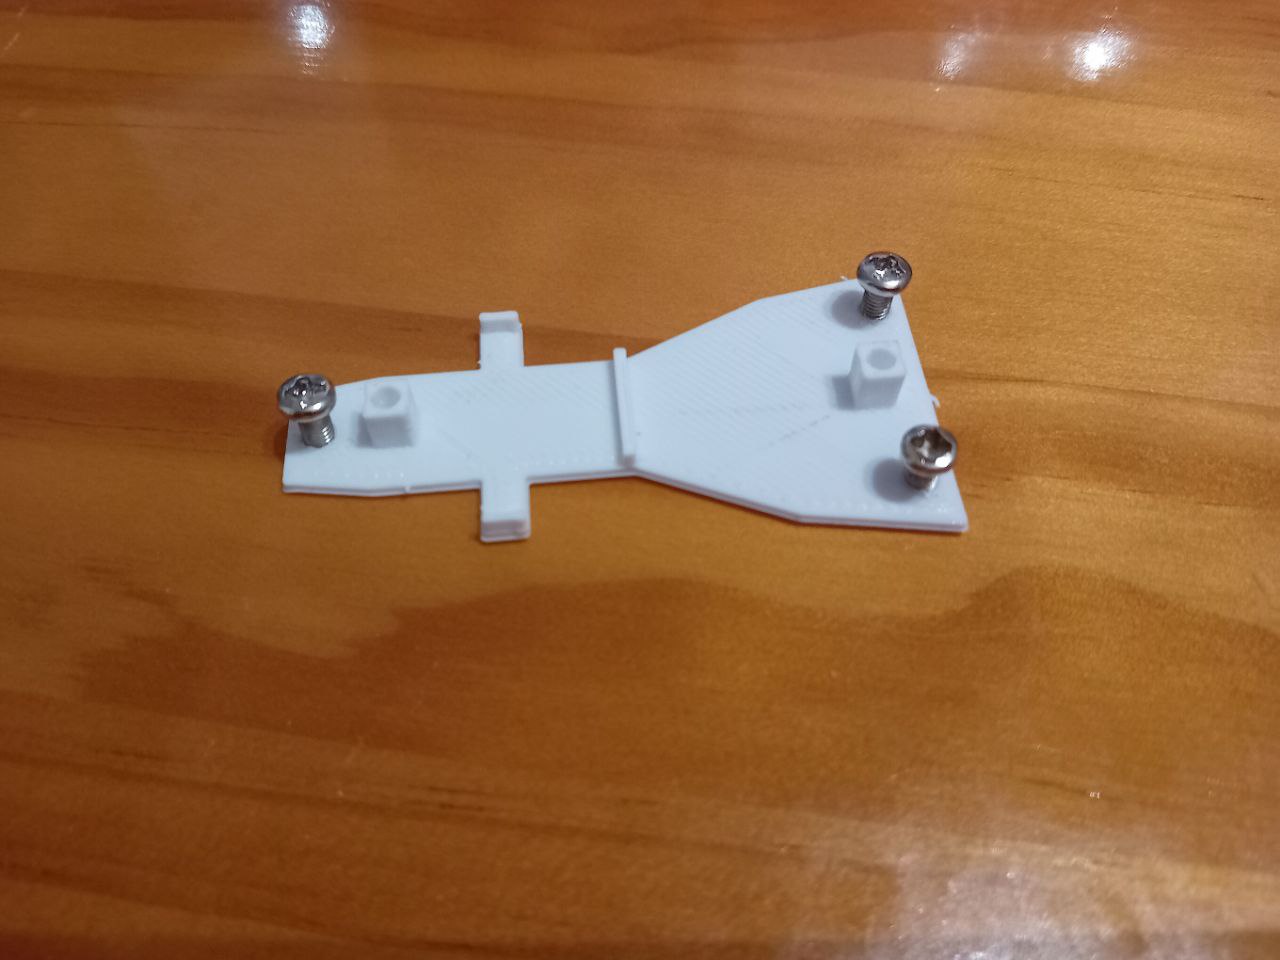
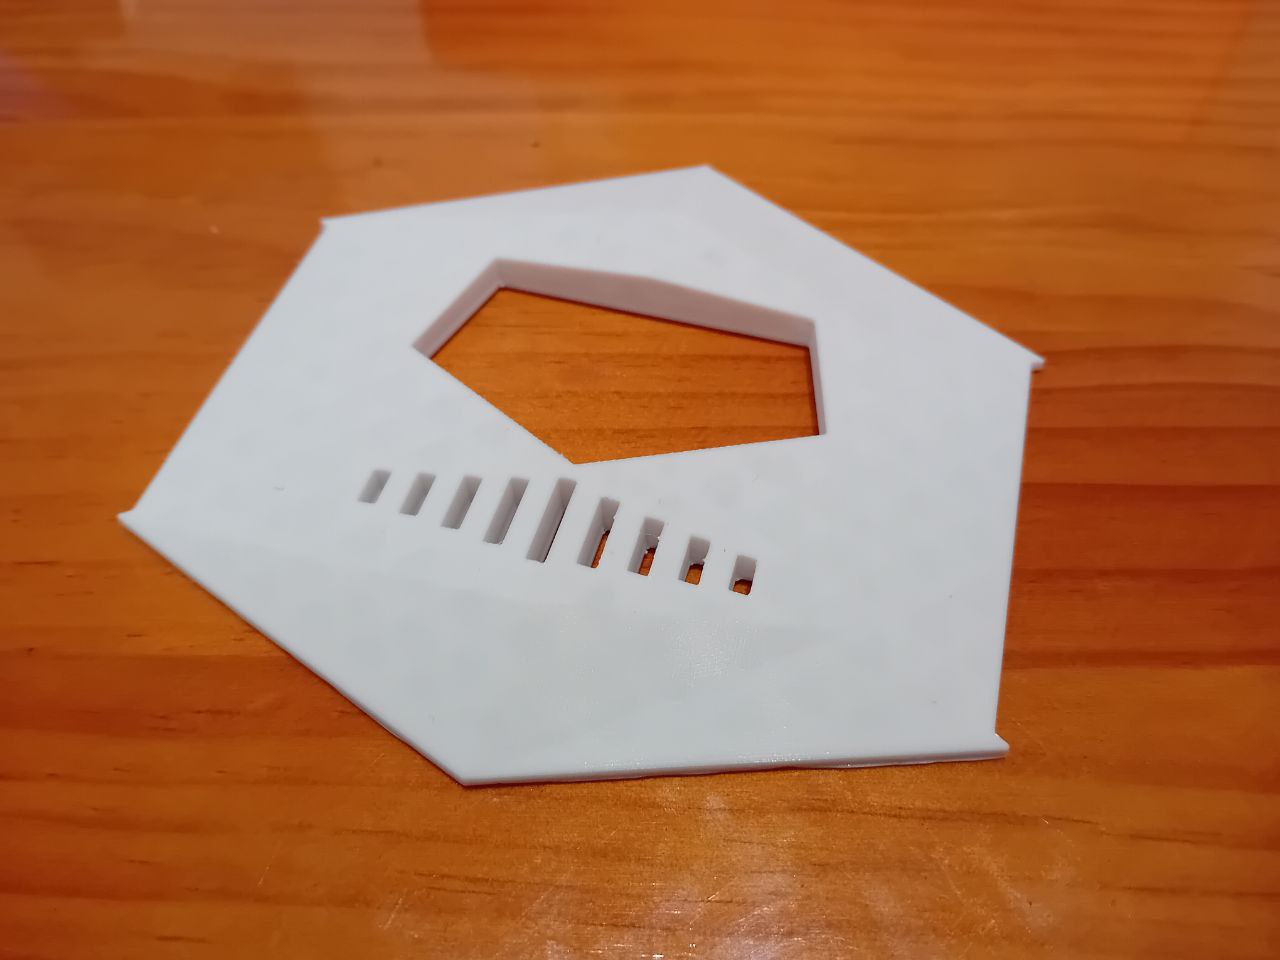
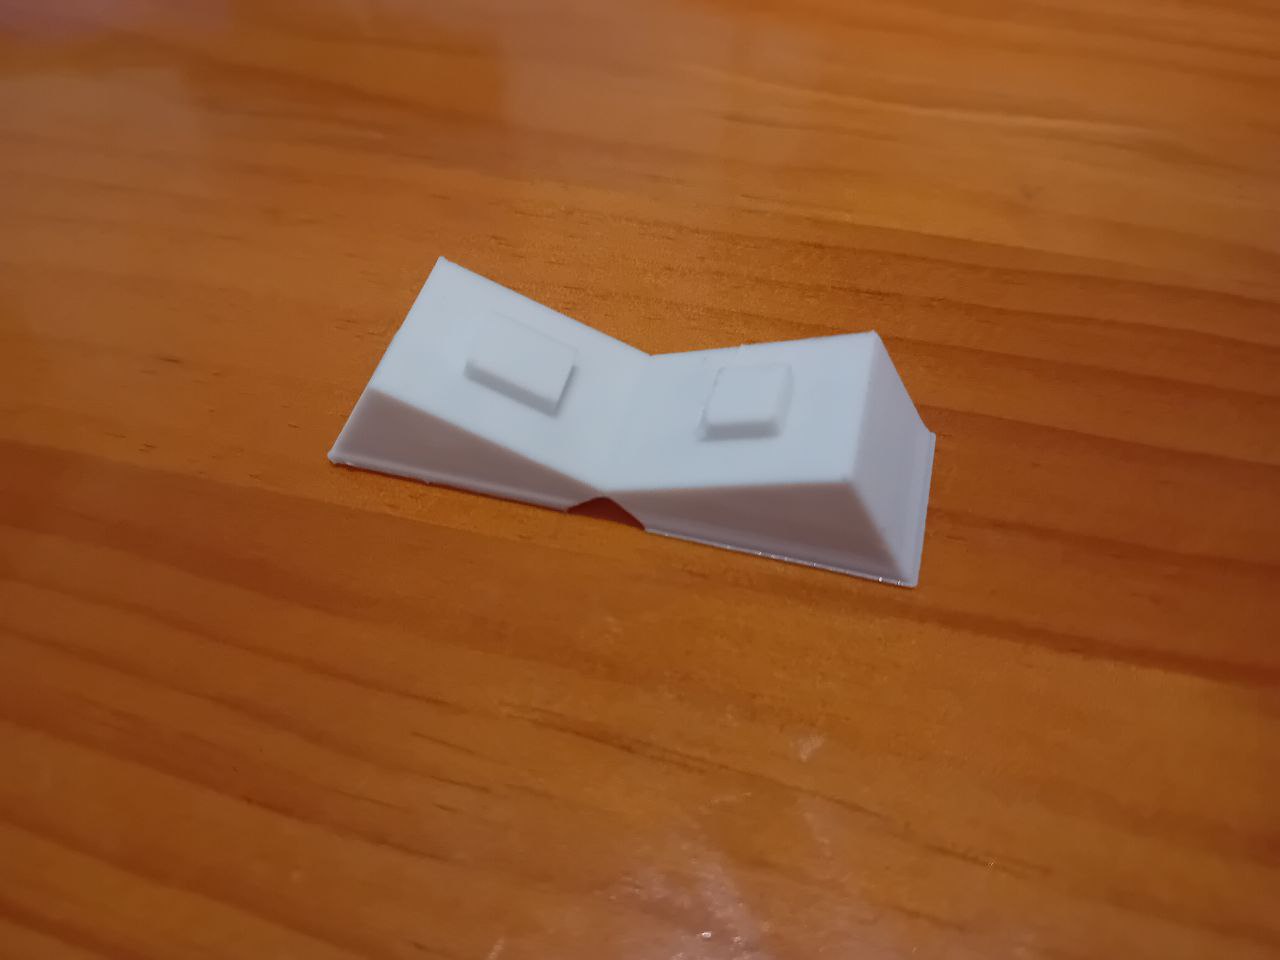
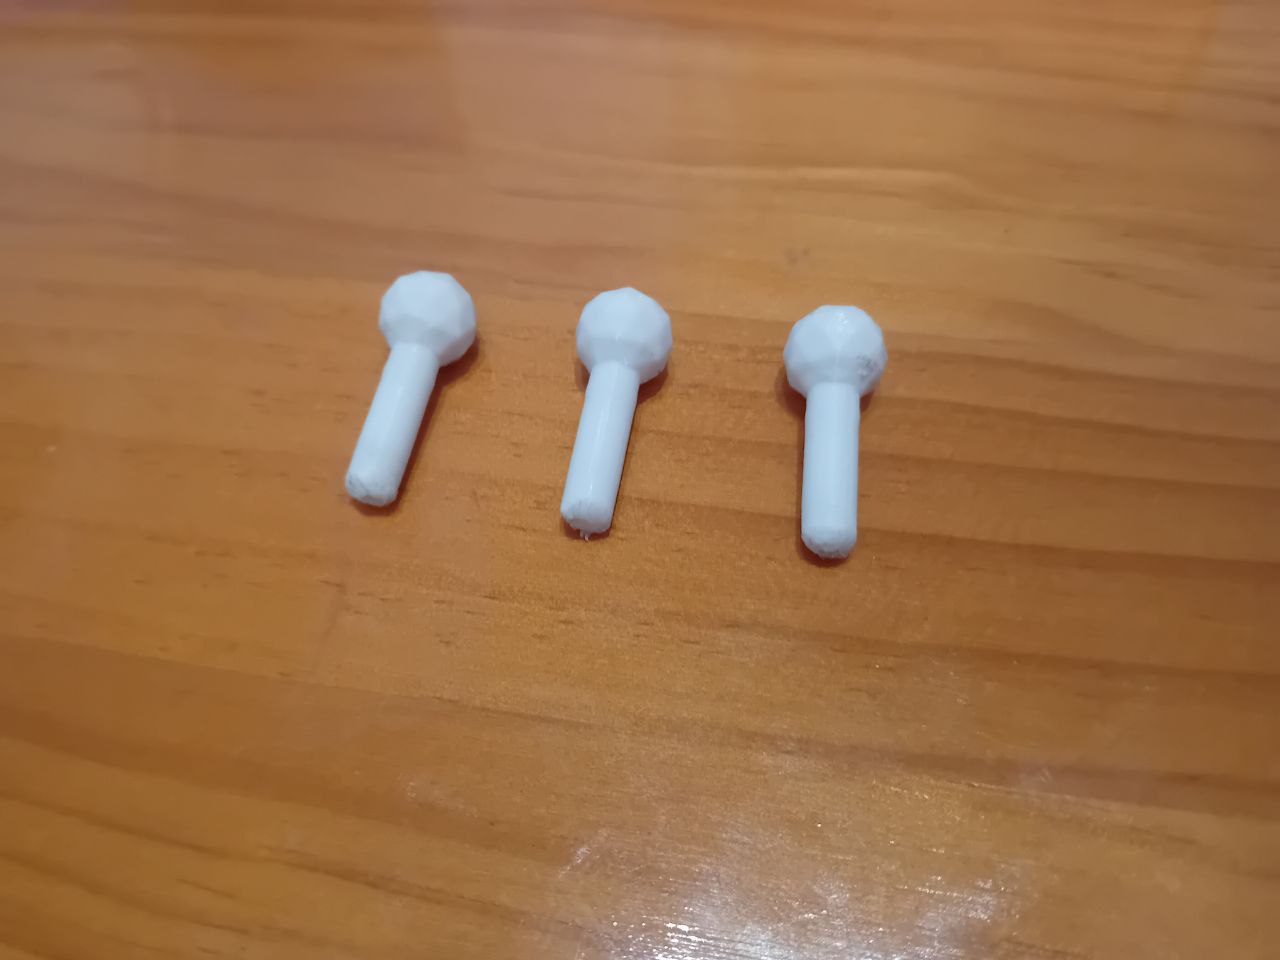
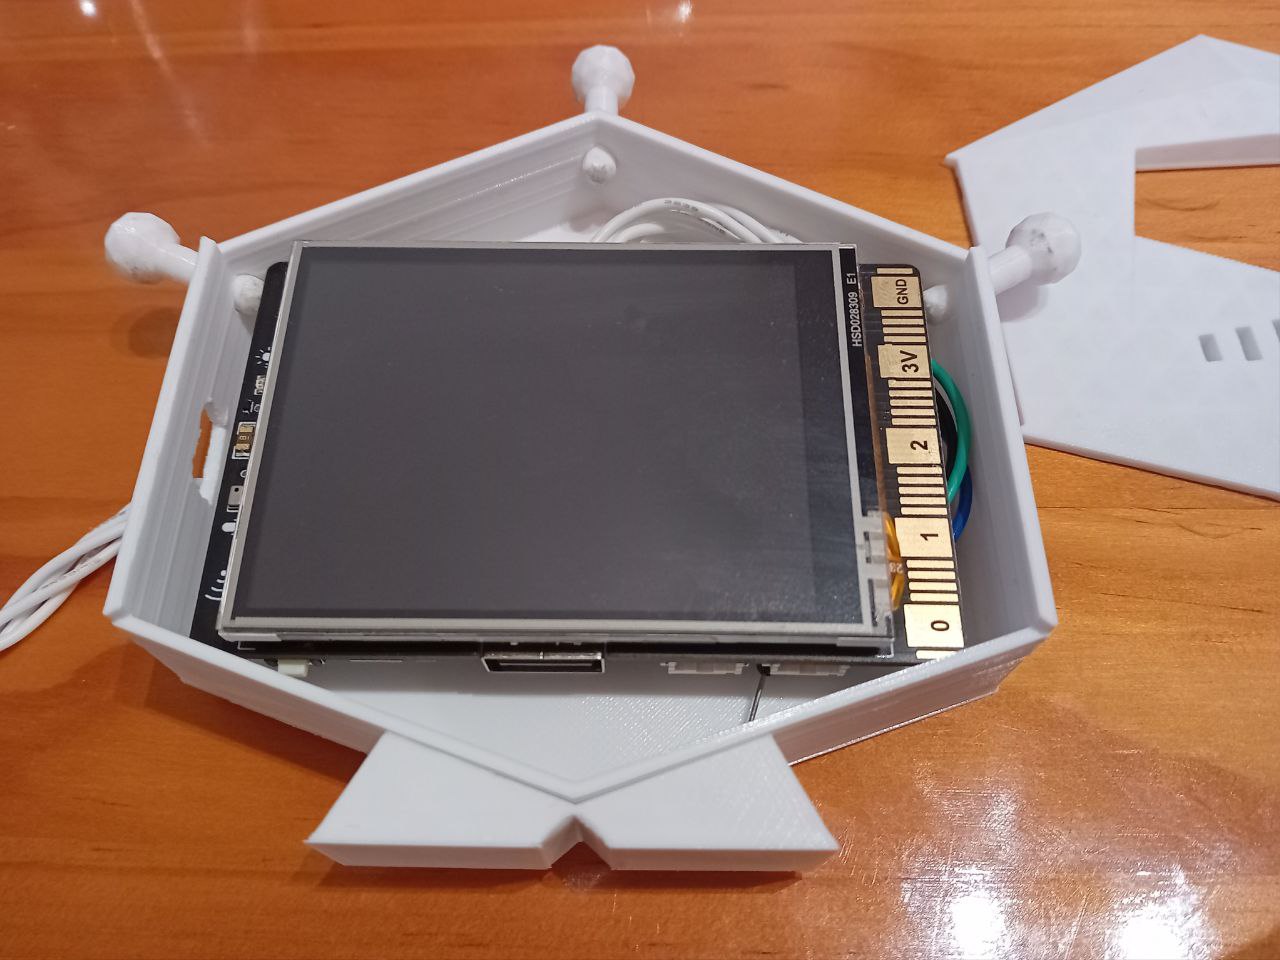
- Bottom piece acts as a casing.
- Internal support piece holds UNIHIKER board to the bottom piece using the screws on the board.
- Top piece acts as a cover and clips on bottom piece.
- Feet support enables vertical standing of the case.
- Antennas just to match the deisgn of the DFRobot logo.
Assembly
- Place the screws of the internal support piece and screw it to the UNIHIKER

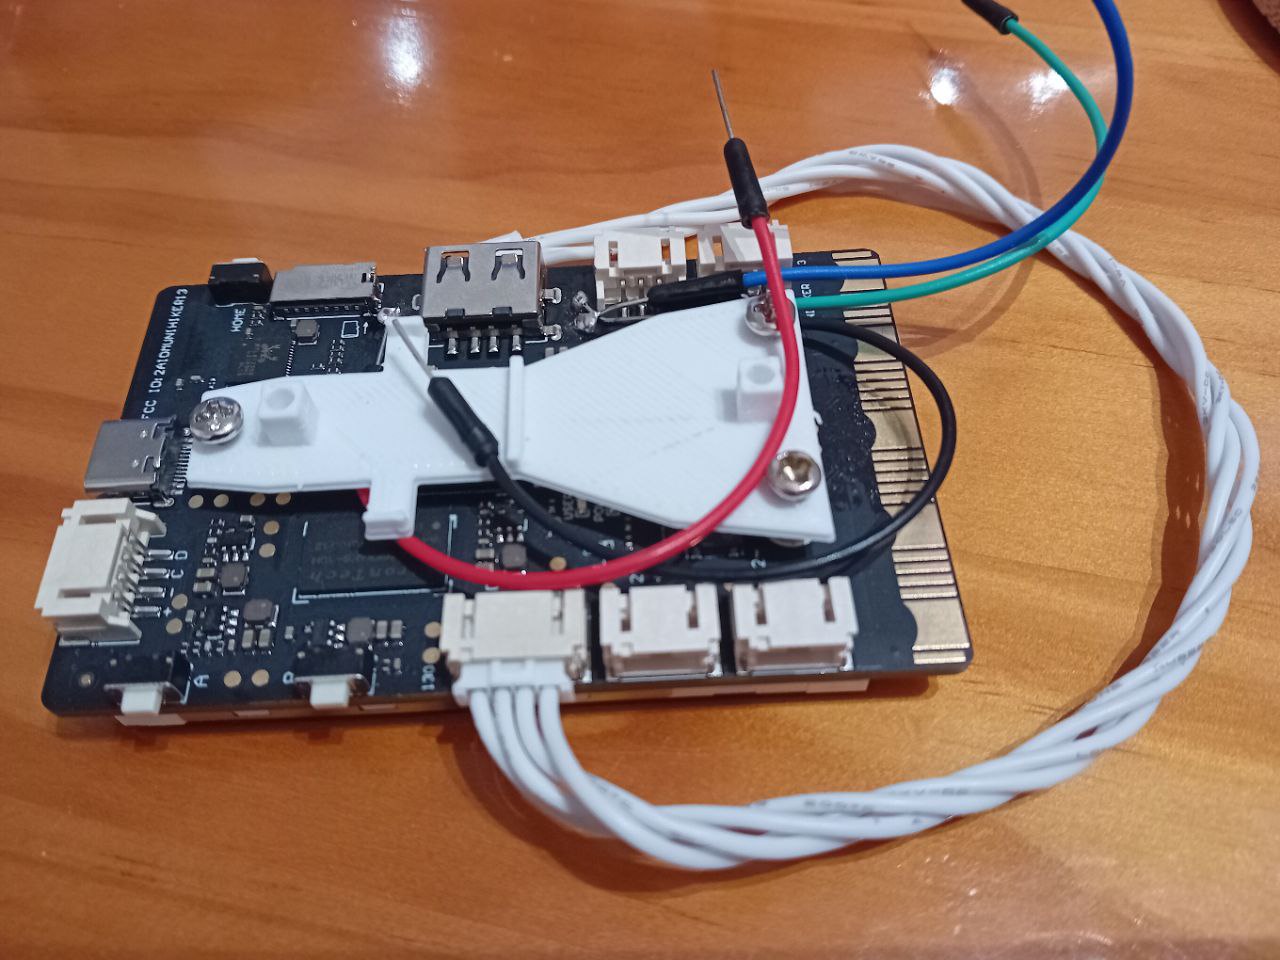
- Place the UNIHIKER inside the bottom piece. If you're using external sensors, you can bring your cabling outside using the void at the back.
- Hold the board to the case using a pair of 2.5mm screws from the back of the bottom piece.
- Fit the top piece in place as it should just hold itself.
- Place the feet support and the antennas in place. You can glue these to make sure that they stay in place.
And that's your case crafted with a nice DFRobot android look!

Share your thoughts on Twitter!
