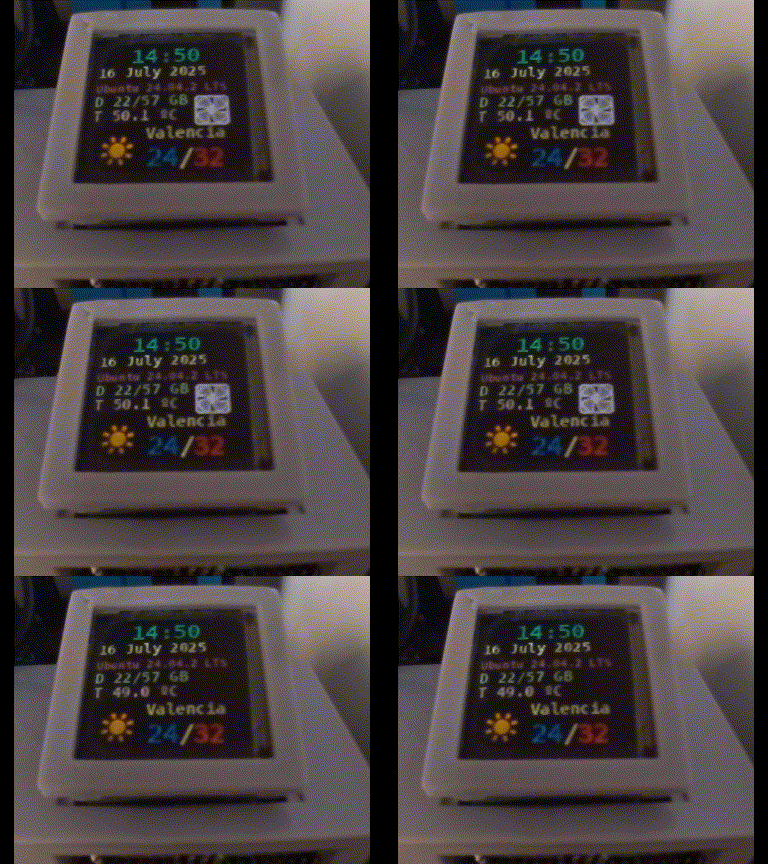
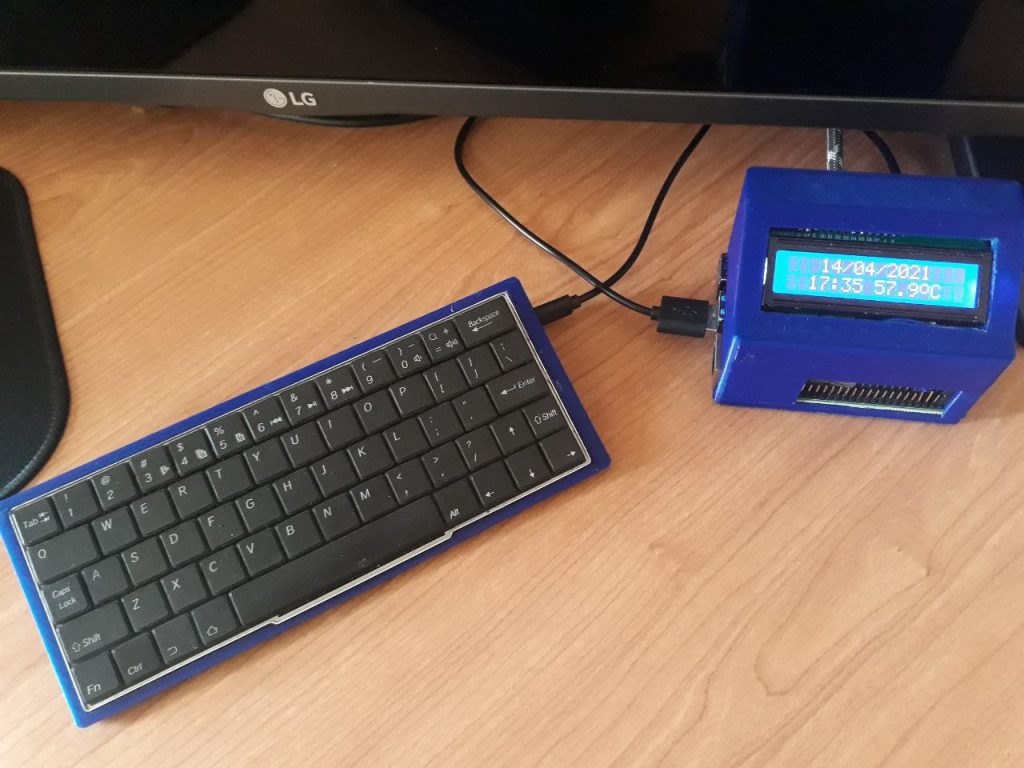
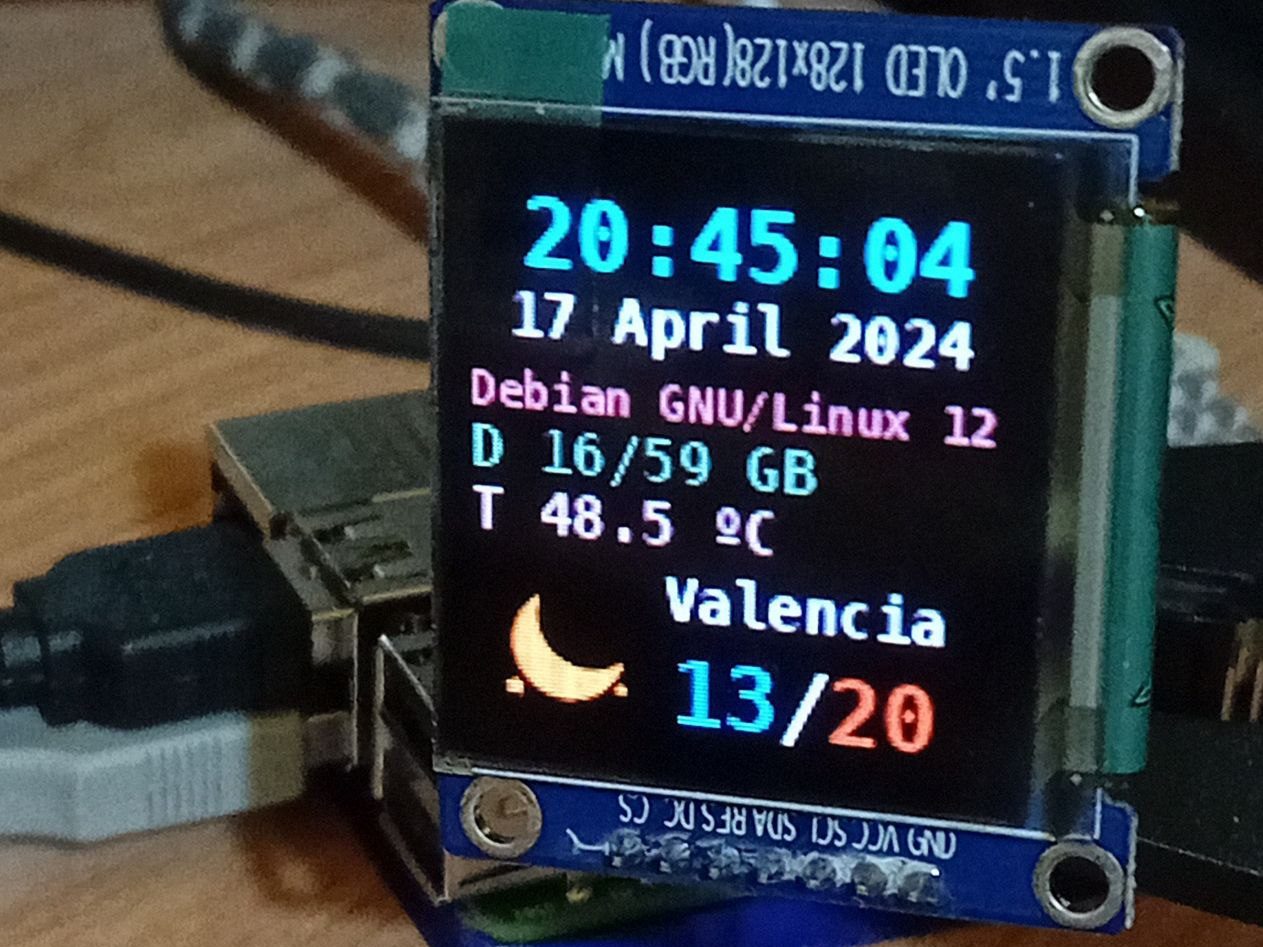
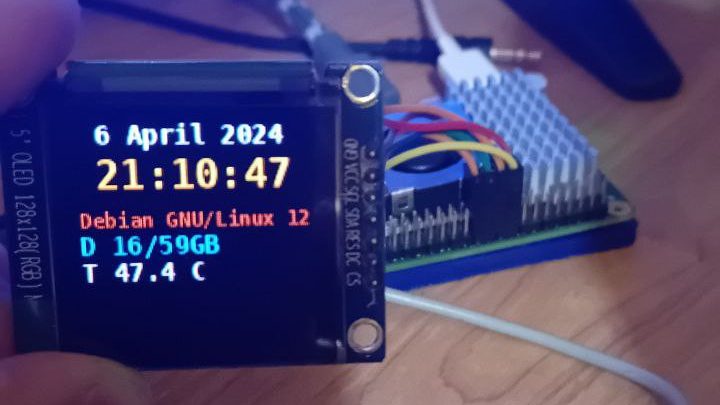
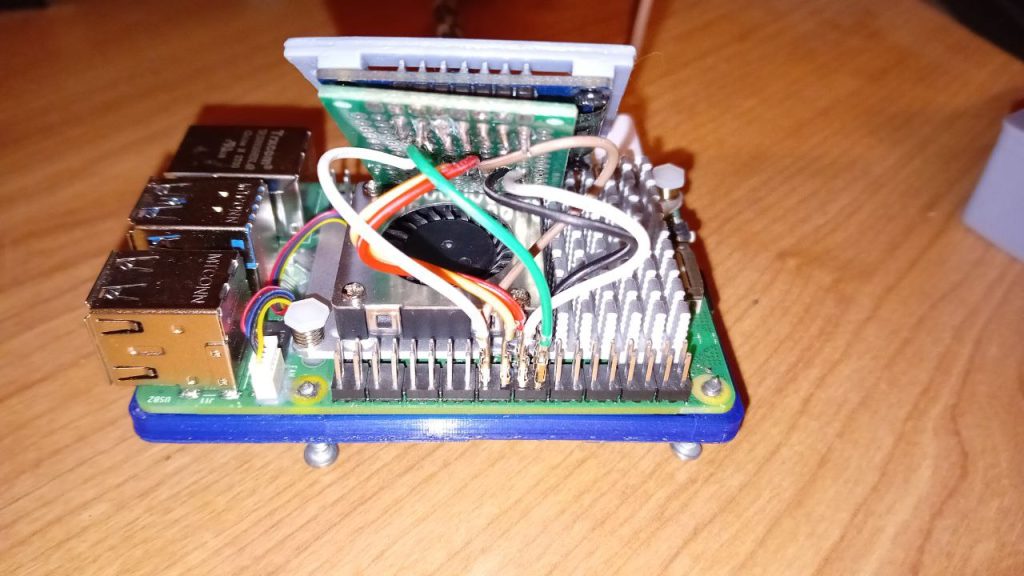
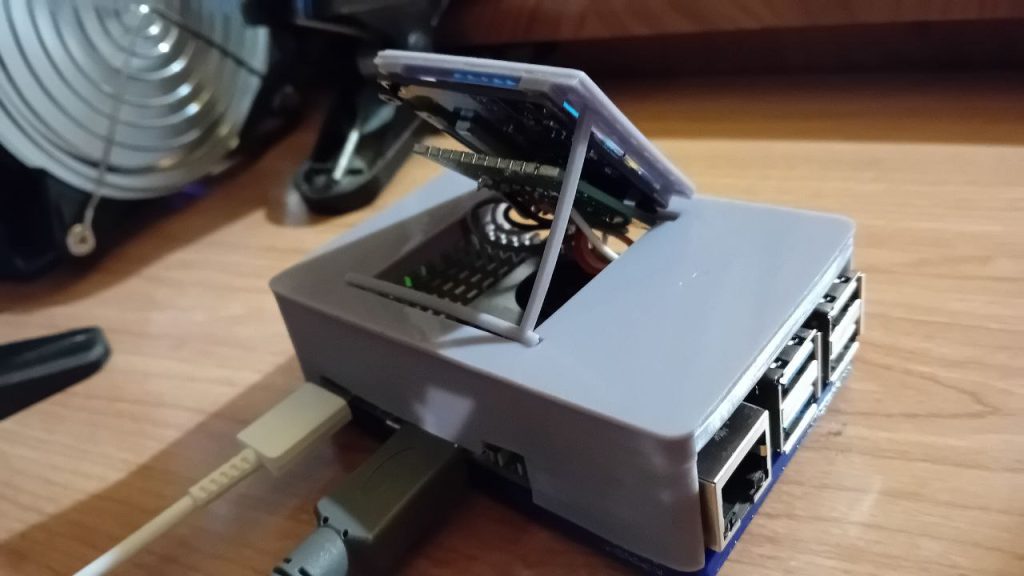
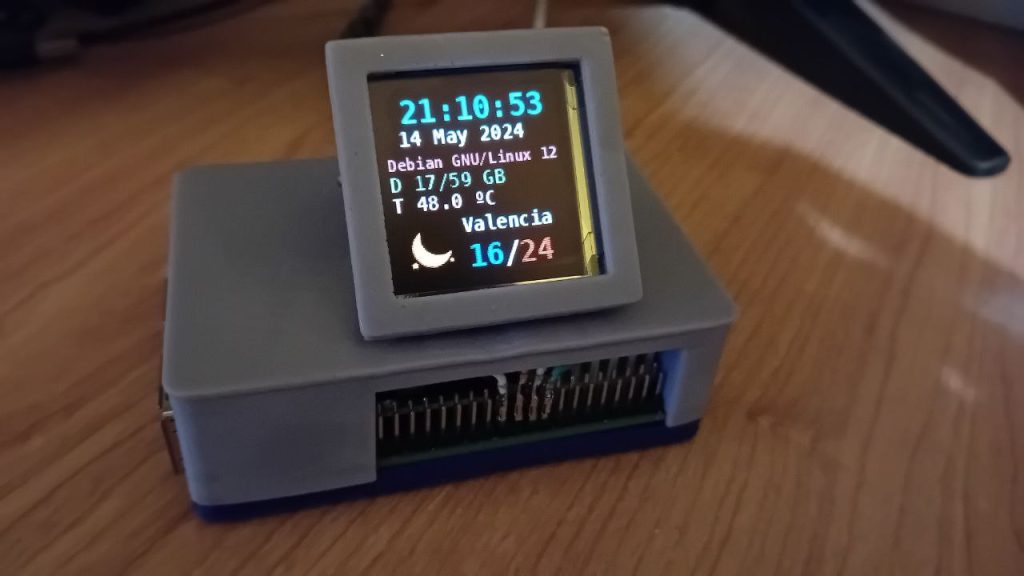
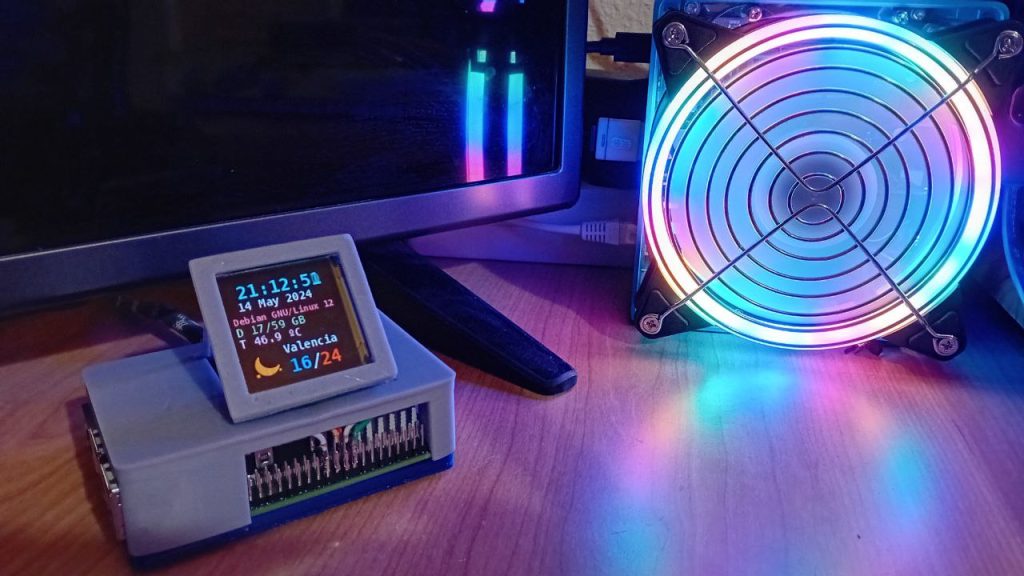
The heat arrived once again and I was feeling that my Raspberry Pi was too warm considering that it has the official built-in fan, with temperatures easily rising above 60ºC.
Since I installed Ubuntu on it, the fan didn’t seem to work right, but that’s something that has been solved in the recent versions of the kernel.
So here’s how you can set it up in Ubuntu and display it’s status.
Content
Fan check
First of all let's check that our fan is working correctly by managing it manually.
Update your system so you can get the latest fixes that affect the fan. My latest version is Ubuntu Linux 24.04.2.
Now you should be able to turn on the fan manually by typing the following command in the terminal:
echo 4 | sudo tee /sys/class/thermal/cooling_device0/cur_state
A value of 4 will turn on the fan in it's maximum revolutions. You can change this value from 0 to 4.
If the above worked correctly you will hear significant noise from your fan. Now you can turn it off again by echoing a value of 0:
echo 0 | sudo tee /sys/class/thermal/cooling_device0/cur_state
So you see that altering the value in the cur_sate file manually changes the fan speed. That's exactly what the fan daemon does once it's configured, so we will monitor this value later to find out if our fan is working (returned value != 0):
cat /sys/class/thermal/cooling_device0/cur_state
Fan setup
The fan wasn't preconfigured in the earlier versions of the Ubuntu kernel for the Raspberry Pi. I'm not sure if it is now by default, but just check it by editing the config.txt file located in /boot/firmware and find out some lines similar to the following:
If you find issues with your python version not finding a compatible circuit python version, include --break-system-packages at the end. (It wont break anything today, but don't get used to it...)
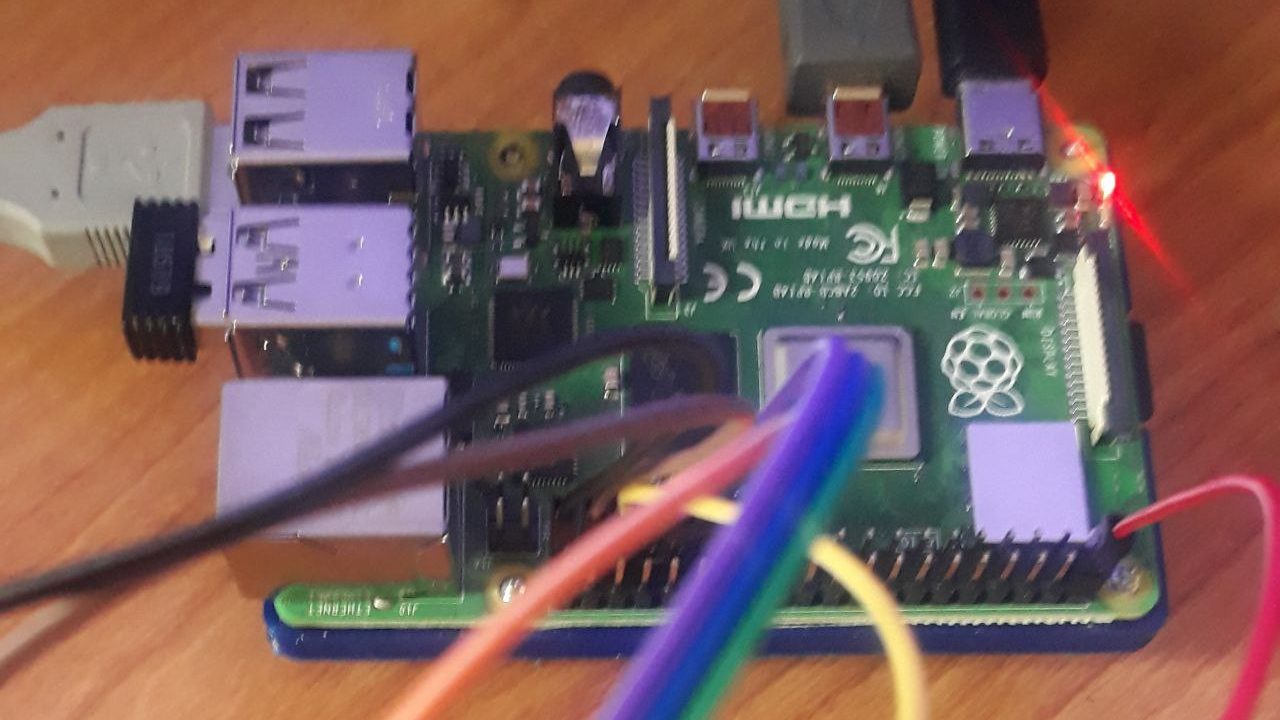
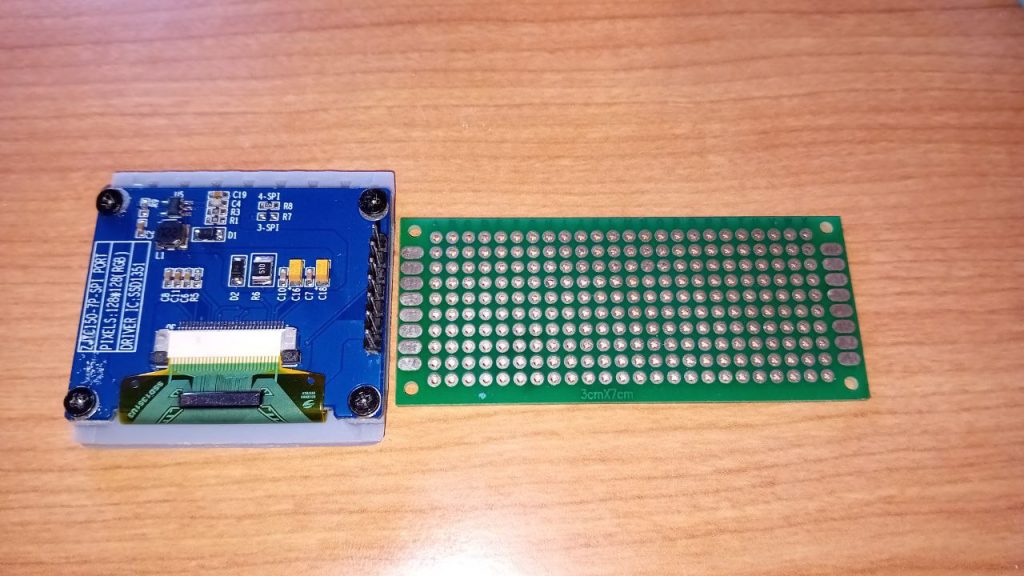
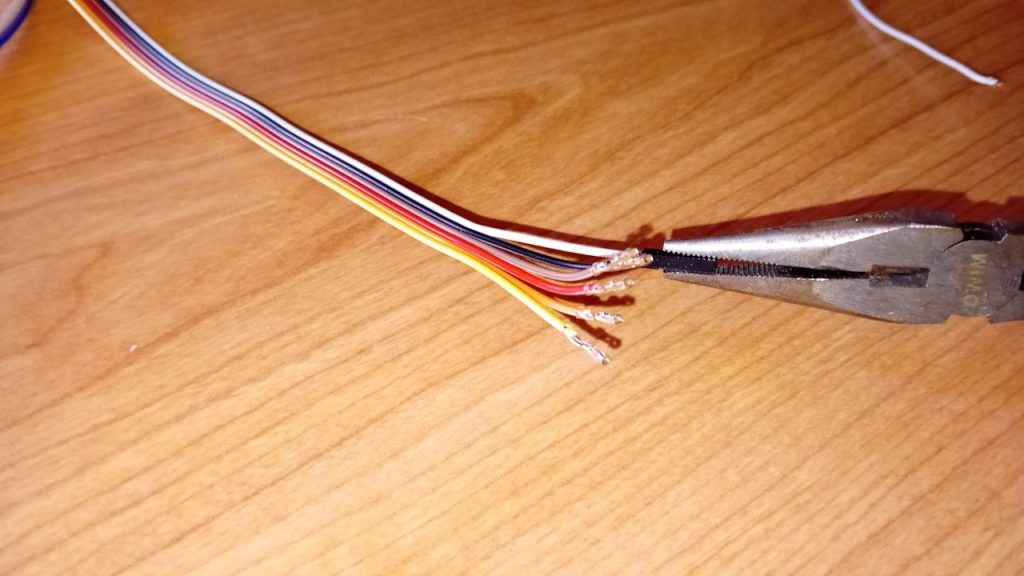
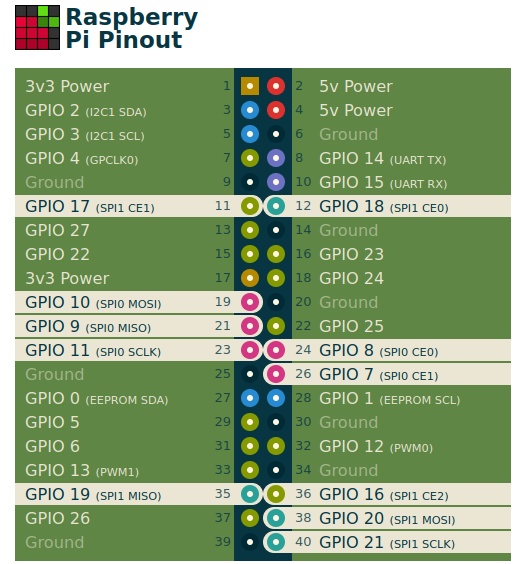
Use a site like pinout.xyz to find a suitable wiring configuration.
You're ready to do some tests before making your final move to the PCB.
Script config
You can try Adafruit's demo script. Just make sure that you choose the right display and update any changes to the ping assignment (use IO numbers/names rather than physical pin numbers):
# Configuration for CS and DC pins (adjust to your wiring):
cs_pin = digitalio.DigitalInOut(board.CE0)
dc_pin = digitalio.DigitalInOut(board.D24)
reset_pin = digitalio.DigitalInOut(board.D25)

# Setup SPI bus using hardware SPI:
spi = board.SPI()

disp = ssd1351.SSD1351(spi, rotation=270,                         # 1.5" SSD1351
    cs=cs_pin,
    dc=dc_pin,
    rst=reset_pin,
    baudrate=BAUDRATE
)
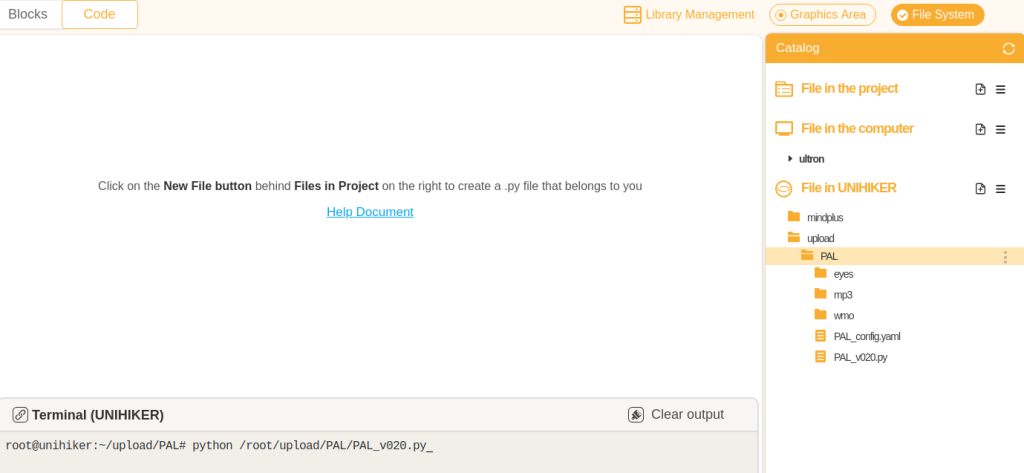
PAL is a simplified version of my python home assistant that I’m running in the DFRobot UNIHIKER which I’m releasing as free open-source.
This is just a demonstration for voice-recognition command-triggering simplicity using python and hopefully will serve as a guide for your own assistant.
Current version: v0.2.0(updated september 2024)
Content
Features
Current version includes the following:
Voice recognition: using open-source SpeechRecognition python library, returns an array of all the recognised audio strings.
Weather forecast: using World Meteorological Organization API data, provides today's weather and the forecast for the 3 coming days. Includes WMO weather icons.
Local temperature: reads local BMP-280 temperature sensor to provide a room temperature indicator.
IoT HTTP commands: basic workflow to control IoT smart home devices using HTTP commands. Currently turns ON and OFF a Shelly2.5 smart switch.
Power-save mode: controls brightness to lower power consumption.
Connection manager: regularly checks wifi and pings to the internet to restore connection when it's lost.
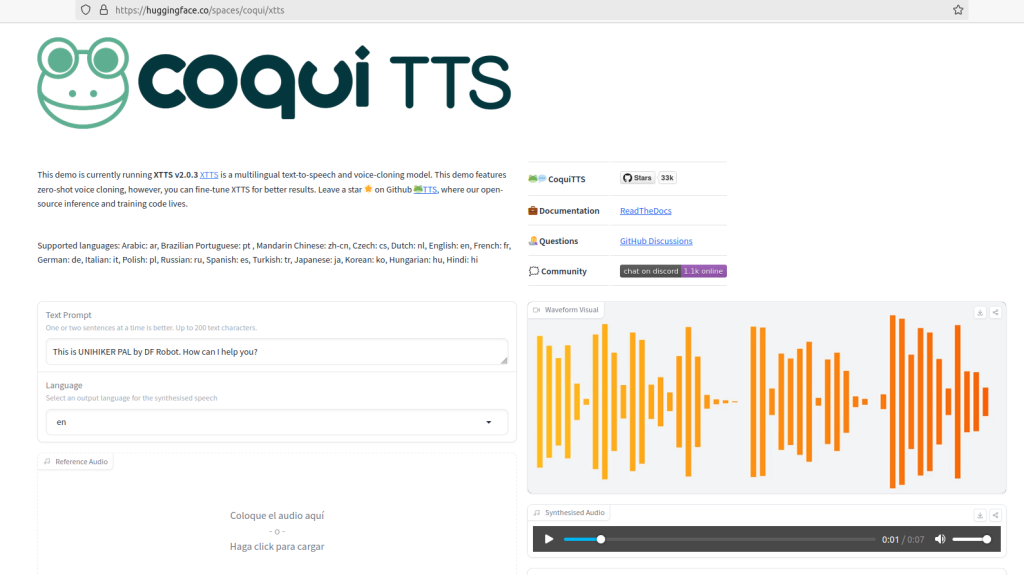
PAL voice samples: cloned voice of PAL from "The Mitchells vs. The Machines" using the AI voice model CoquiAI-TTS v2.
UNIHIKER buttons: button A enables a simple menu (this is thought to enable a more complex menu in the future).
Touchscreen controls: restore brightness (center), switch program (left) and close program (right), when touching different areas of the screen.
At the moment, PAL v0.2.0 only includes functionality for Shelly2.5 for demonstration purposes.
Use variables lampBrand, lampChannel and lampIP to suit your Shelly2.5 configuration.
This is just as an example to show how different devices could be configured. These variables should be used to change the particularities of the HTTP command that is sent to different IoT devices.
More devices will be added in future releases, like Shelly1, ShellyDimmer, Sonoff D1, etc.
Power save mode
Power saving reduces the brightness of the device in order to reduce the power consumption of the UNIHIKER. This is done using the system command "brightness".
Change "ps_mode" variable to enable ("1") or disable ("0") the power-save mode.
Room temperature
Change "room_temp" variable to enable ("1") or disable ("0") the local temperature reading module. This requires a BMP-280 sensor to be installed using the I2C connector.
Check this other post for details on sensor installation:
Some theme configuration has been enabled by allowing to choose between different eyes as a background image.
Use the variables "eyesA" and "eyesB" specify one of the following values to change the background image expression of PAL:
"happy"
"angry"
"surprised"
"sad"
"happy""angry""surprised""sad"
"eyesA" is used as the default background and "eyesB" will be used as a transition when voice recognition is activated and PAL is talking.
The default value for "eyesA" is "surprised" and it will change to "happy" when a command is recognized.
Customizable commands
Adding your own commands to PAL is simple using the "comandos" function.
Every audio recognized by SpeechRecognition is sent as a string to the "comandos" function, which then filters the content and triggers one or another matching command.
Just define all the possible strings that could be recognized to trigger your command (note that sometimes SpeechRecognition provides wrong or inaccurate transcriptions).
Then define the command that is triggered if the string is matched.
def comandos(msg):
    # LAMP ON
    if any(keyword in msg for keyword in ["turn on the lamp", "turn the lights on","turn the light on", "turn on the light", "turn on the lights"]):
        turnLAMP("on")
        os.system("aplay '/root/upload/PAL/mp3/Turn_ON_lights.wav'")
Activation keyword
You can customize the keywords or strings that will activate command functions. If any of the keywords in the list is recognized, the whole sentence is sent to the "comandos" function to find any specific command to be triggered.
For the case of PAL v0.2, these are the keywords that activate it (90% it's Paypal):
You can change this to any other sentence or name, so PAL is activated when you call it by these strings.
PAL voice
Use the sample audio file "PAL_full" below (also in the github repo in /mp3) as a reference audio for CoquiAI-TTS v2 voice cloning and produce your personalized voices:
Below are a few examples of queries and replies from PAL:
"Hey PAL, turn on the lights!""Hey PAL, turn the lights off"
Future releases (To-Do list)
I will be developing these features in my personal assistant, and will be updating the open-source release every now and then. Get in touch via github if you have special interest in any of them:
Advanced menu: allow configuration and manually triggering commands.
IoT devices: include all Shelly and Sonoff HTTP API commands.
Time query: requires cloning all number combinations...