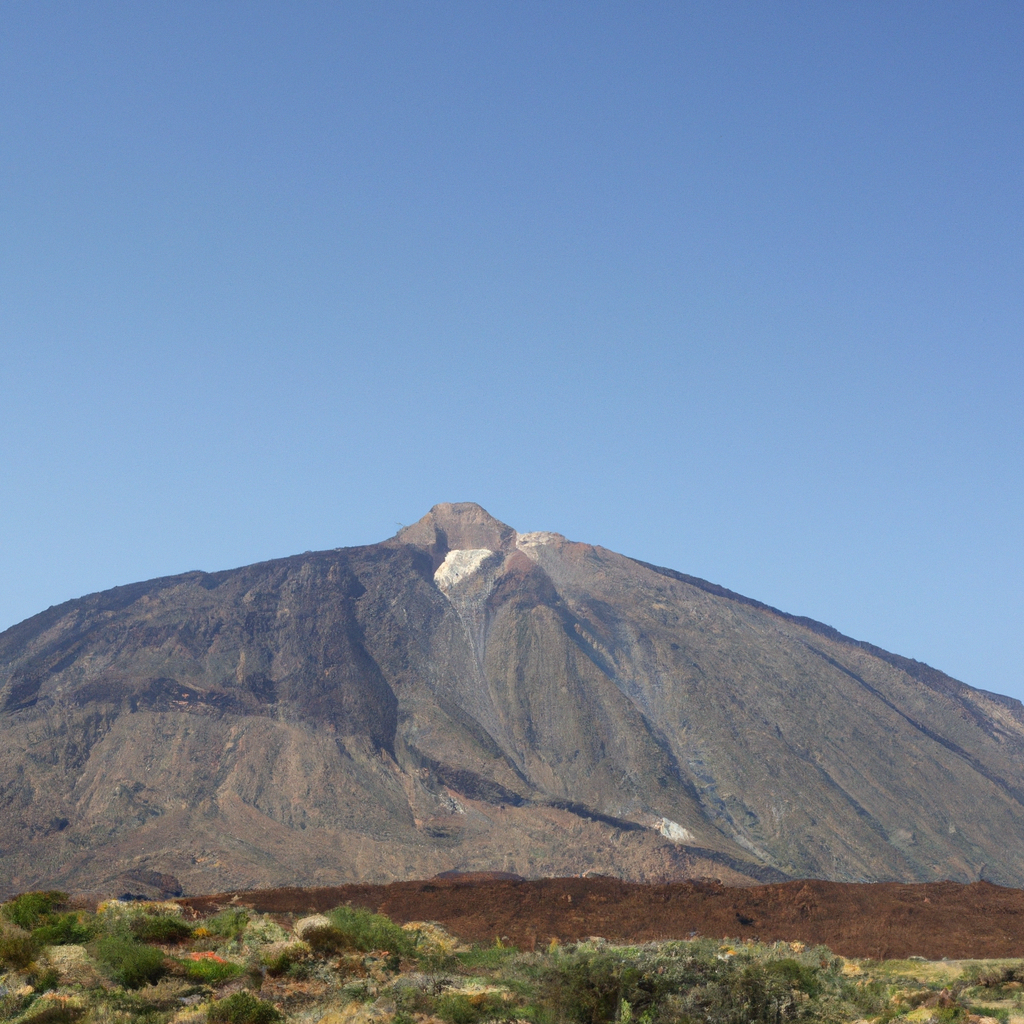
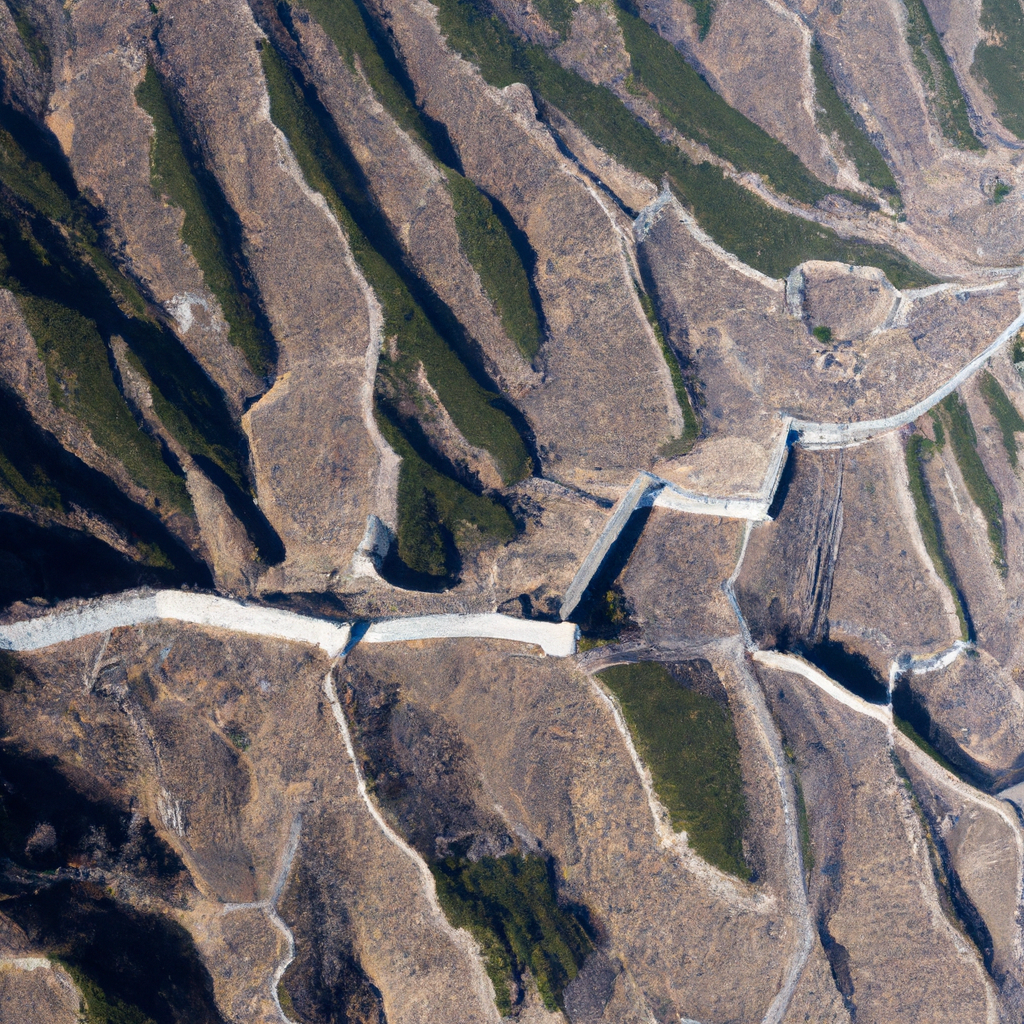
tech explorers, welcome!

Tag: dalle

Dalle-playground: AI image generation local server for low resources PCs

AI image generation has a high computational cost. Don’t trust the speed of Dall·E 2 API that we saw in this post; if these services are usually paid, it’s for a reason and, apart from the online services that we also saw, running AI in an average computer is not so simple.

After trying, in vane, some open-source alternatives like Pixray or Dalle-Flow, I finally bring the most simple of them: dalle-playground. This is a starting version of Dalle, so you won’t obtain the best of the results.

Despite this, I will soon bring an alternative to Dall·E (Stable Diffusion from stability.ai), which also supports a version optimized by the community for low resources PCs.
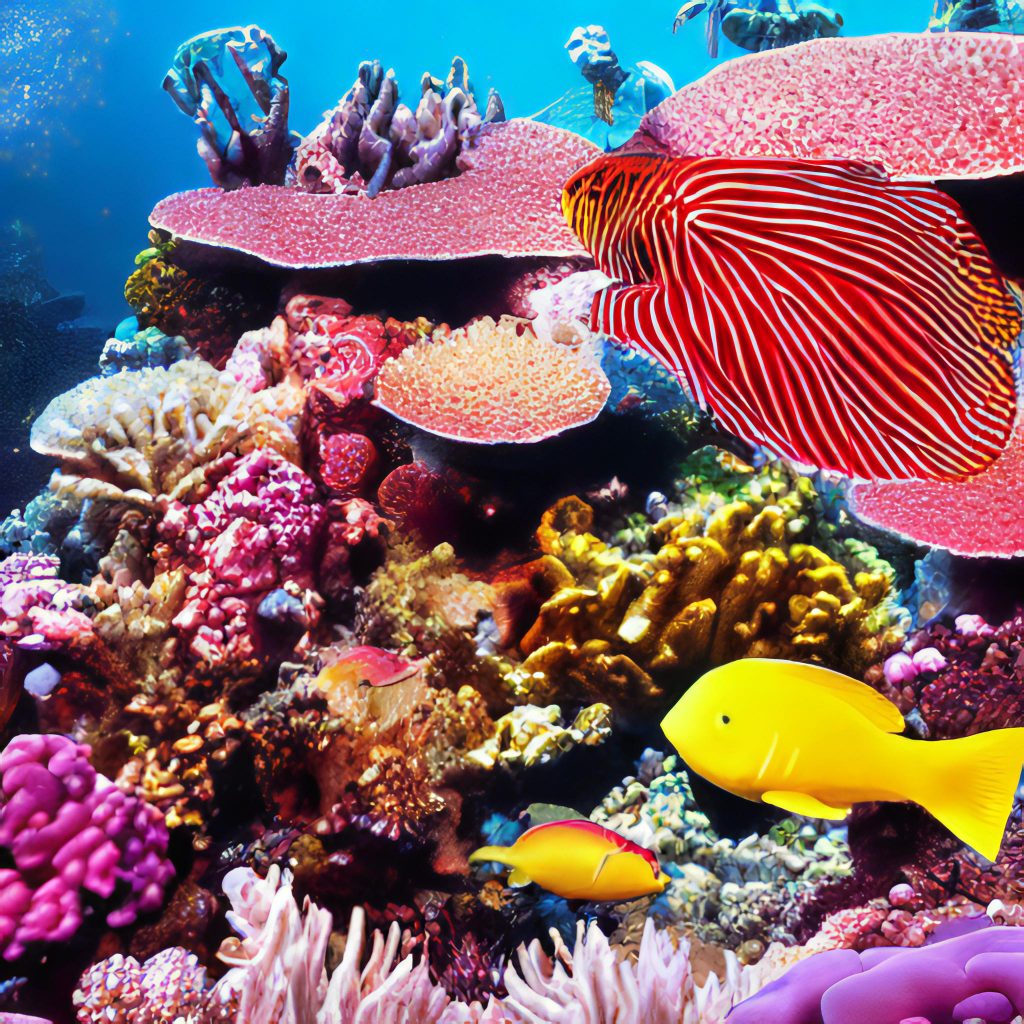
Requirements

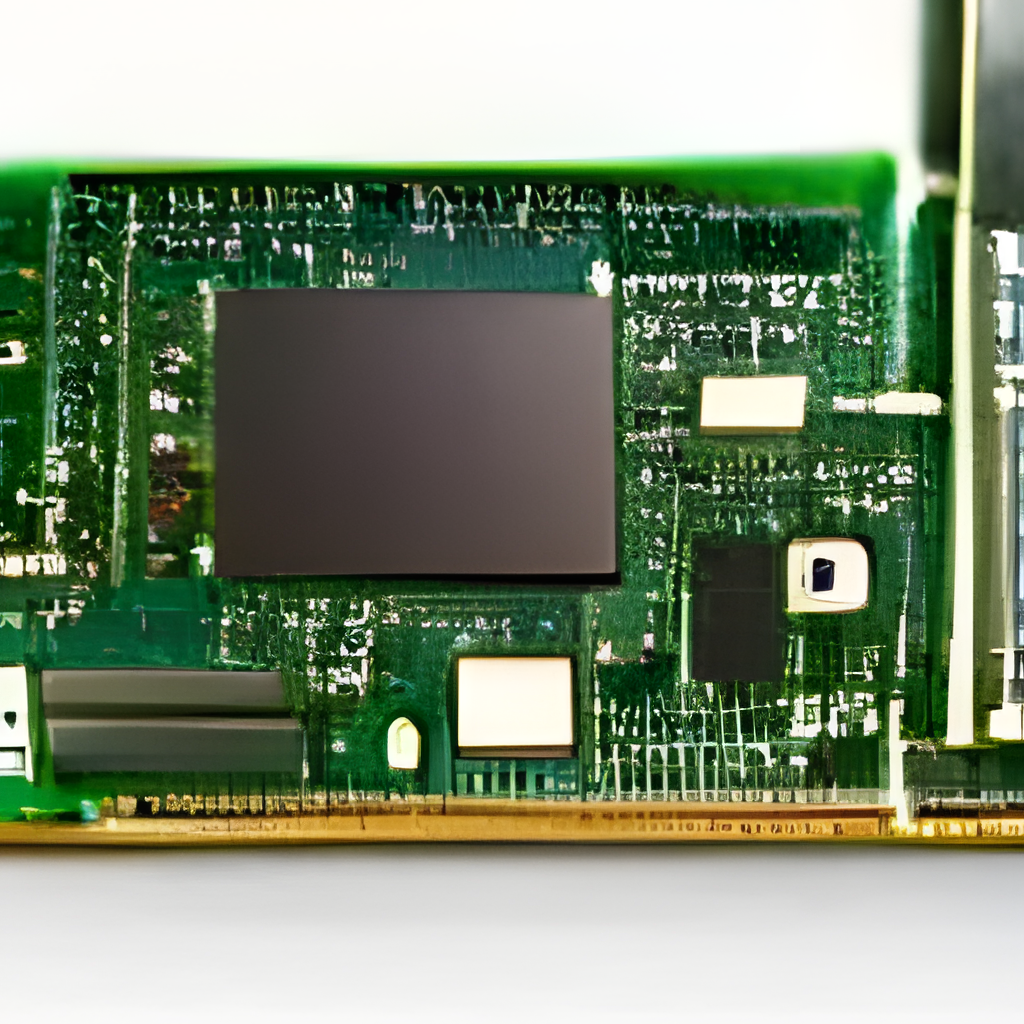
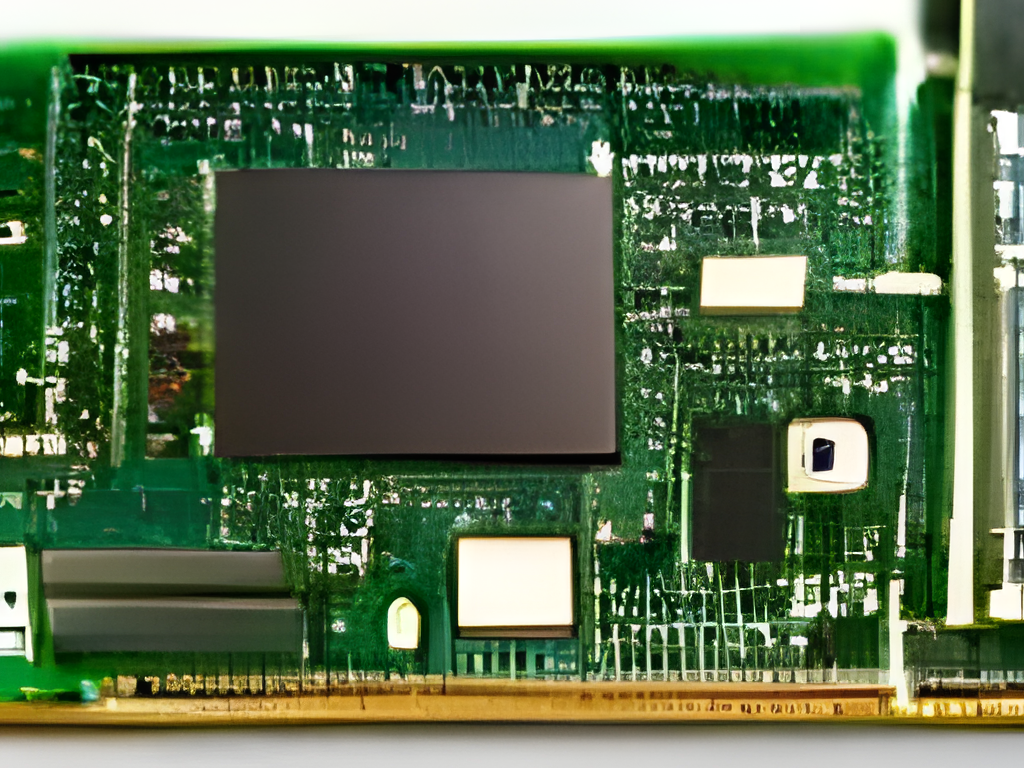
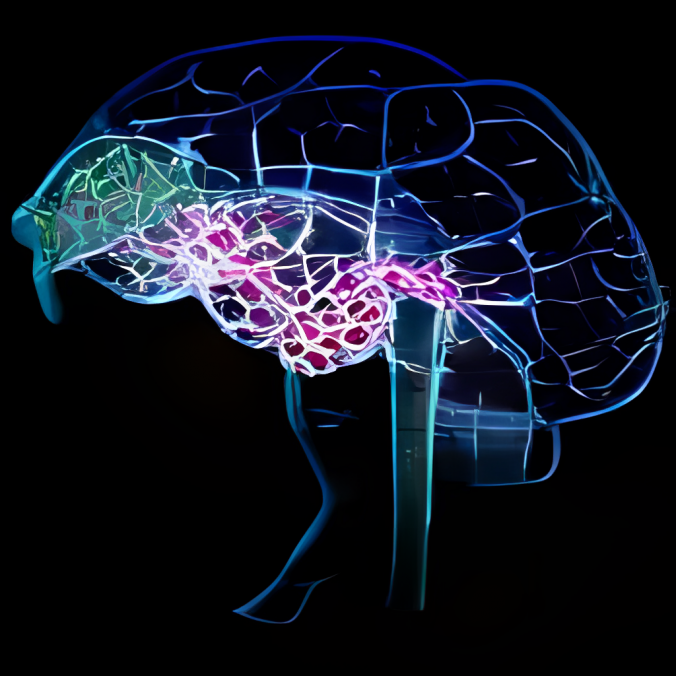
"Computer hardware elements" by dalle-playground

Hardware

Just for you to picture it, Pixray recommends a minimum 16GB of VRAM and Dalle-Flow 21GB. VRAM or virtual RAM is the rapid access memory in your graphics card (don't confuse it with the usual RAM memory).

A standard laptop like mine has a Nvidia GeForce GTX1050Ti with 3GB dedicated VRAM, plus 8GB RAM on board.

With this minimum requirement, and some patience, you can run Dalle-playground locally in your PC, although it also requires an internet connection to check for updated python modules and AI checkpoints.

If you have one or several more powerful graphic cards, I would recommend trying Pixray, as it installs relatively easy and it's well documented and extended.

https://github.com/pixray/pixray#usage

Software

Software requirements aren't trivial either. You'll need python and Node.js. I will show the main steps for Linux, which is more flexible when installing all kinds of packages of this kind, but this is equally valid for Windows or Mac if you manage yourself on a terminal or using docker.

Download dalle-playground

I found this repository by chance, just before it was updated for Stable Diffusion V2 (back in November 2022) and I was smart enough to clone it.

Access and download all the repository from my github:

https://github.com/TheRoam/dalle-playground-DalleMINI-localLinux

Or optionally download the original repository with Stable Diffusion V2, but this requires much more VRAM:

https://github.com/saharmor/dalle-playground/

If you use git you can clone it directly from the terminal:

git clone https://github.com/TheRoam/dalle-playground-DalleMINI-localLinux

I renamed the folder locally to dalle-playground.

Install python3 and required modules

All the algorithm works in python in a backend. The main repository only mentions the use of python3, so I assume that previous versions wont work. Check your python version with:

>> python3 -V
Python 3.10.6

Or install it from its official source (it's currently on version 3.11, so check which is the latest available for your system):

https://www.python.org/downloads/

Or from your Linux repo:

sudo apt-get install python3.10

You'll also need the venv module to virtualize dalle-playground's working environment so it won't alter the whole python installation (the following is for Linux as it's included in the Windows installer):

sudo apt-get install python3.10-venv

In the backend folder, create a python virtual environment, which I named after dalleP:

cd dalle-playground/backend
python3 -m venv dalleP

Now, activate this virtual environment (you'll see that the name appears at the start of the terminal line):

(dalleP) abc@123: ~dalle-playground/backend$

Install the remaining python modules required by dalle-playground which are indicated in the file dalle-playground/backend/requirements.txt

pip3 install -r requirements.txt

Apart from this, you'll need pyTorch, if not installed yet:

pip3 intall torch

Install npm

Node.js will run a local web server which will act as an app. Install it from the official source:

https://nodejs.org/en/download/

Or from your Linux repo:

sudo apt-get install npm

Now move to the frontend folder dalle-playground/interface and install the modules needed by Node:

cd dalle-playground/interface
npm install

Launch the backend

With all installed let's launch the servers, starting with the backend.

First activate the python virtual environment in the folder dalle-playground/backend (if you just installed it, it should be activated already)

cd dalle-playground/backend
source dalleP/bin/activate

Launch the backend app:

python3 app.py --port 8080 --model_version mini

The backend will take a couple of minutes (from 2 to 5 minutes). Wait for a message like the following and focus on the IP addresses that appear at the end:

--> DALL-E Server is up and running!
--> Model selected - DALL-E ModelSize.MINI
 * Serving Flask app 'app' (lazy loading)
 * Environment: production
   WARNING: This is a development server. Do not use it in a production deployment.
   Use a production WSGI server instead.
 * Debug mode: off
INFO:werkzeug:WARNING: This is a development server. Do not use it in a production deployment. Use a production WSGI server instead.
 * Running on all addresses (0.0.0.0)
 * Running on http://127.0.0.1:8080
 * Running on http://192.168.1.XX:8080

Launch frontend

We'll now launch the Node.js local web server, opening a new terminal:

cd dalle-playground/interfaces
npm start

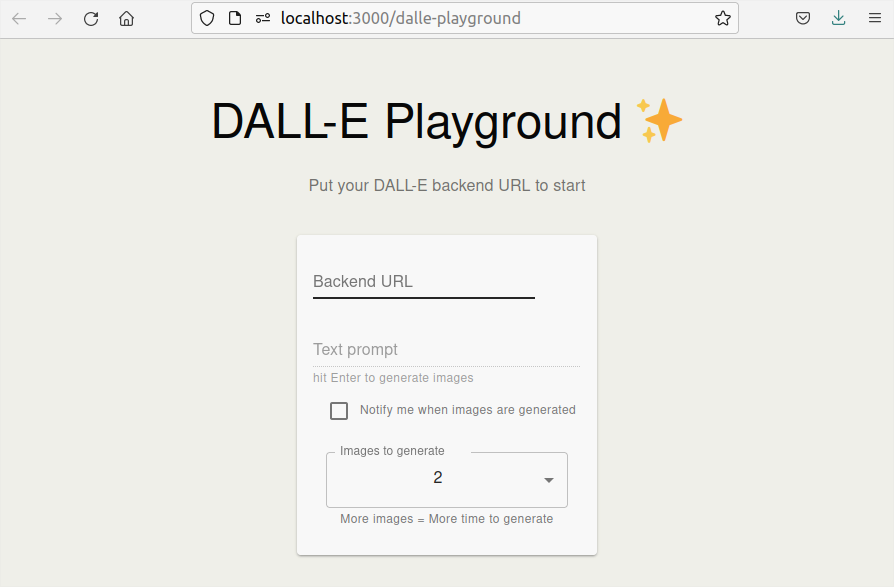
When the process finishes, it will launch a web browser and show the graphical interface of the app.

Automatic launcher

In Linux you can use my script launch.sh which starts backend and frontend automatically following the steps above. Just sit and wait for it to load.

launch.sh

#!/bin/bash
#Launcher for dalle-playground in Linux terminal

#Launchs backend and frontend scripts in one go
$(bash ./frontend.sh && bash ./backend.sh &)

#Both scripts will run in one terminal.
#Close this terminal to stop the programm.

backend.sh

#!/bin/bash
#Backend launcher for dalle-playground in Linux terminal

#move to backend folder
echo "------ MOVING TO BACKEND FOLDER ------"
cd ./backend

#set python virtual environment
echo "------ SETTING UP PYTHON VIRTUAL ENVIRONMENT ------"
python3 -m venv dalleP
source dalleP/bin/activate

#launch backend
echo "------ LAUNCHING DALLE-PLAYGROUND BACKEND ------"
python3 app.py --port 8080 --model_version mini &

frontend.sh

#!/bin/bash
#Frontend launcher for dalle-playground in Linux terminal

#move to frontend folder
echo "------ MOVING TO FRONTEND FOLDER ------"
cd ./interface

#launch frontend
echo "------ LAUNCHING DALLE-PLAYGROUND FRONTEND ------"
npm start &

App dalle-playground

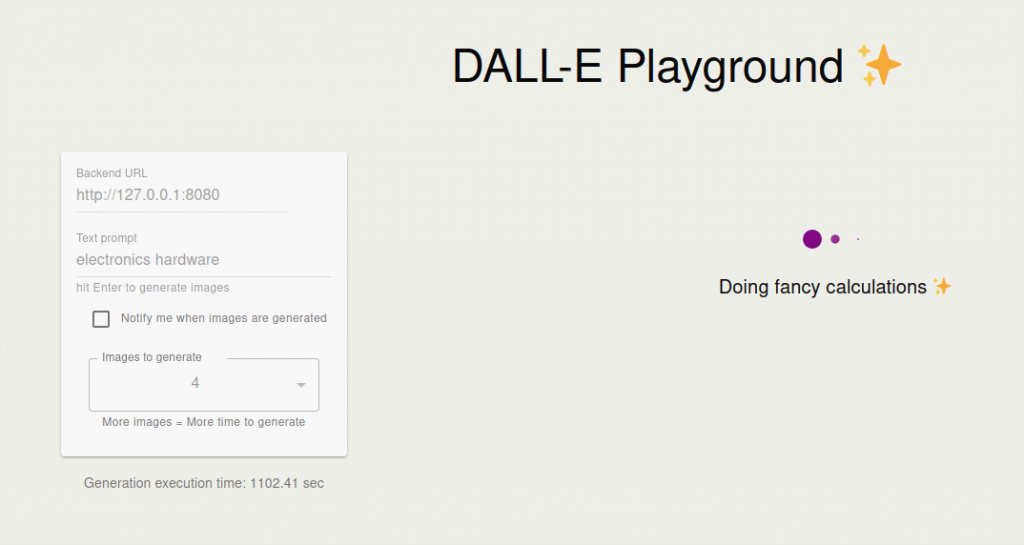
In the first field, type the IP address for the backend server that we saw earlier. If you're accessing from the same PC, you can use the first one:

http://127.0.0.1:8080

But you can access from any other device in your local network using the second one:

http://192.168.1.XX:8080

Now introduce the image description to be generated in the second field, and choose the number of images to show (more images will take longer).

Press [enter] and wait for the image to generate (about 5 minutes per image).

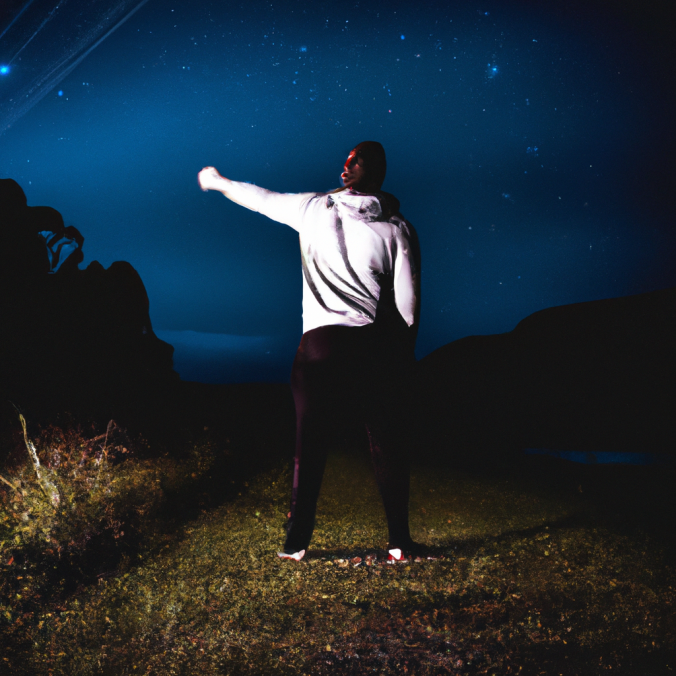
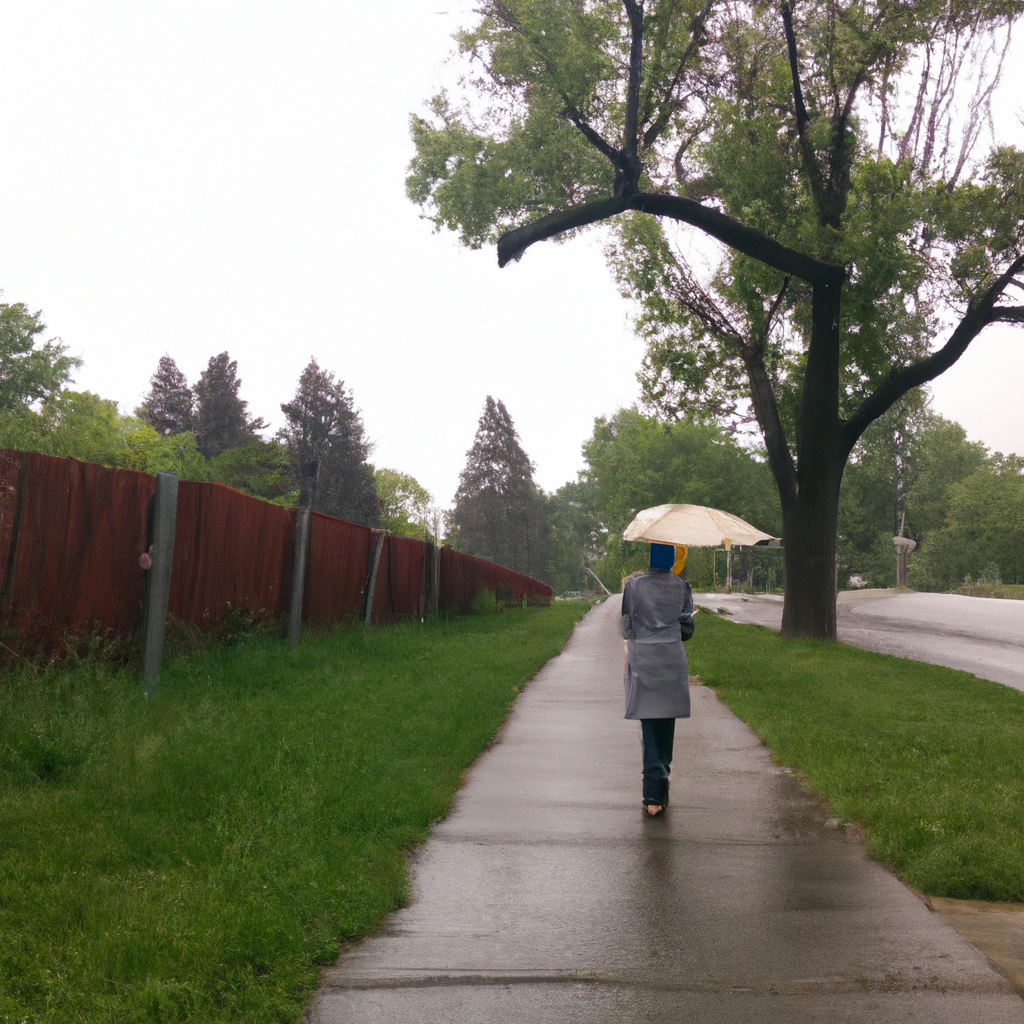
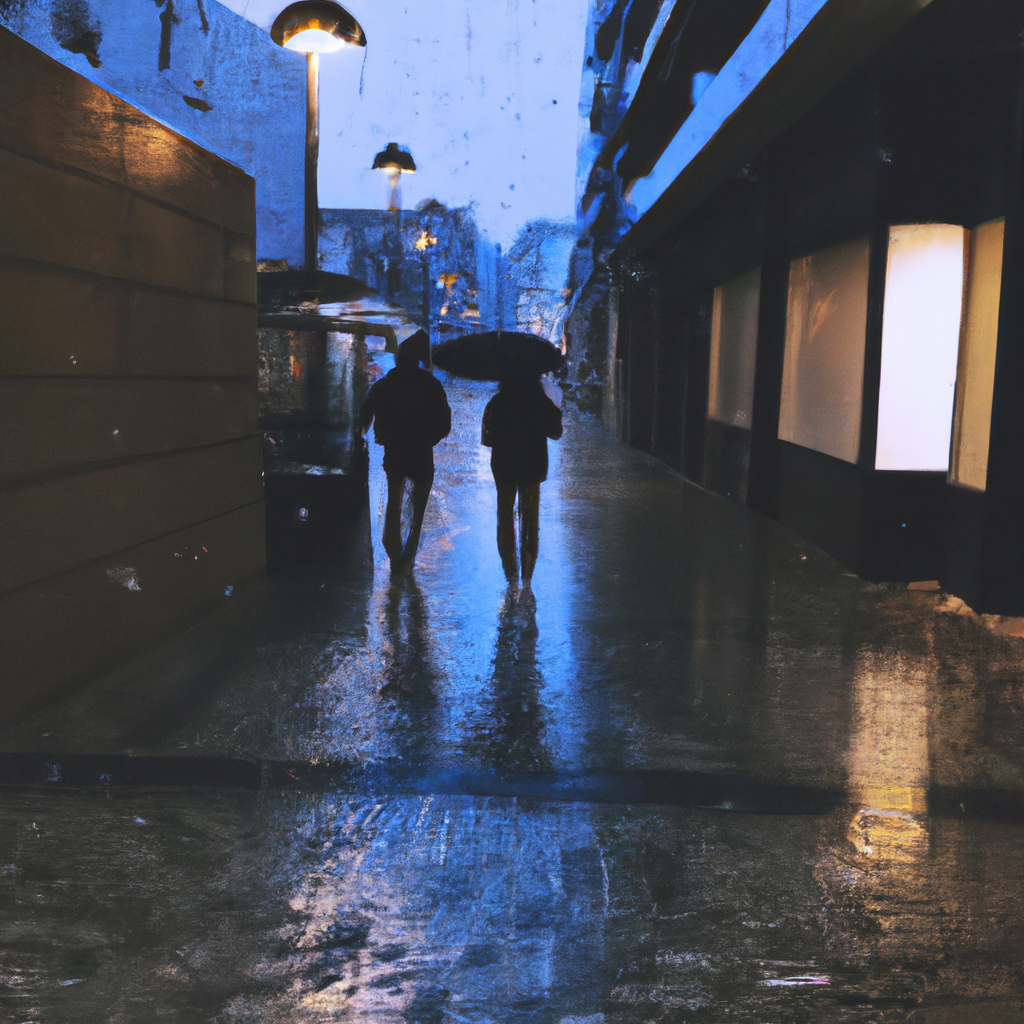
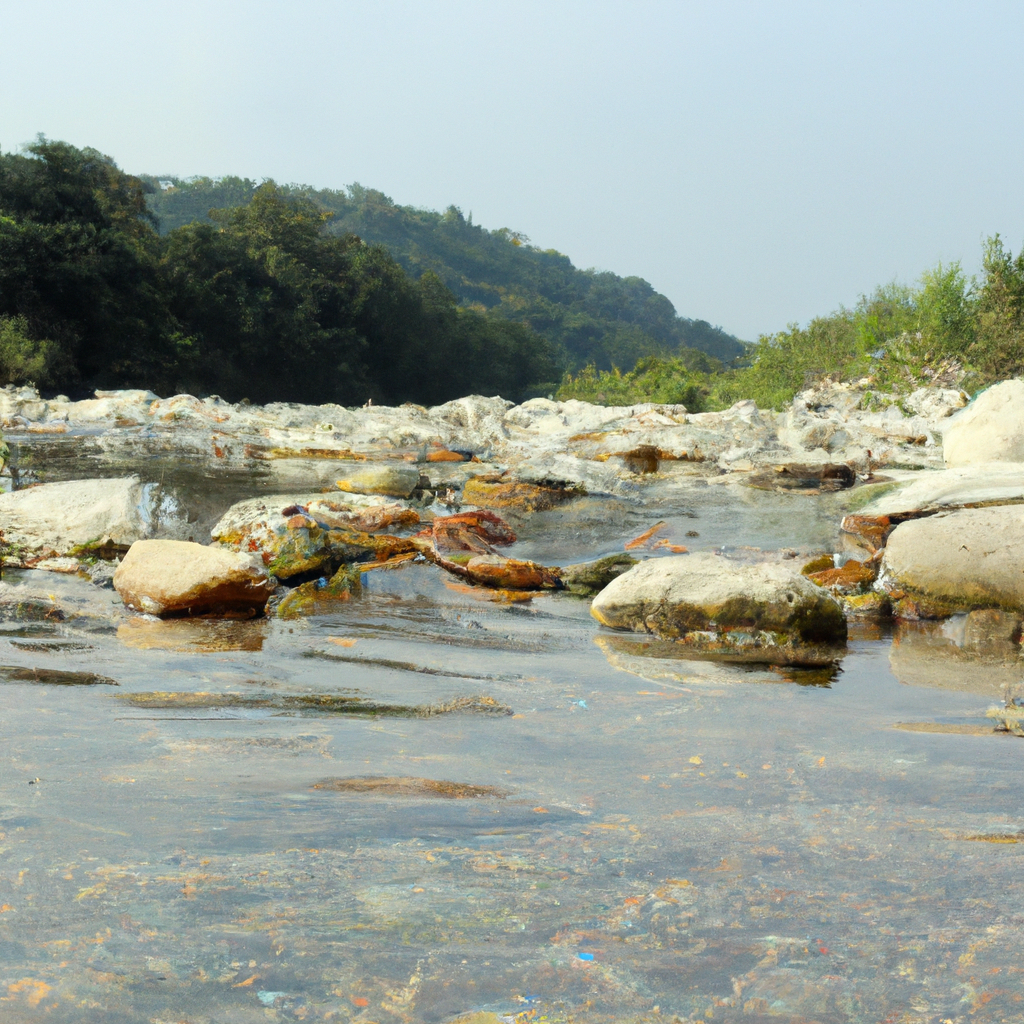
And there you have your first local AI generated image. I will include a small gallery of results below. And in the next post I will be showing how to obtain better results using Stable Diffusion, also for lower than 4GB VRAM.

You know I await your doubts and comments on 🐦 Twitter!

🐦 @RoamingWorkshop

Note: original images at 256x256 pixels, upscaled using Upscayl.
Dall·E 2 Beta: image generation using artificial intelligence (AI)

I had this pending for a while, and by following some Tweets and the project GOIA by Iker Jiménez, it seemed that AI image generation had become really accessible. And it is. There’s enormous advance in this field. But it all has a price.

Image generation from OpenAI, one of Elon Musk giants, named after Dall·E, launched its open API for everyone to test.

It’s got 18$ credit to use during 3 months only by signing up. The rest needs to be paid, but you’ll have enough for making tests, and the it’s only 0.02$ per picture. Additionally it’s easy to use and the results are great.

It’s worth trying it to know what’s the top and at the end I will show you what we, the rest, of the mortals can use daily.

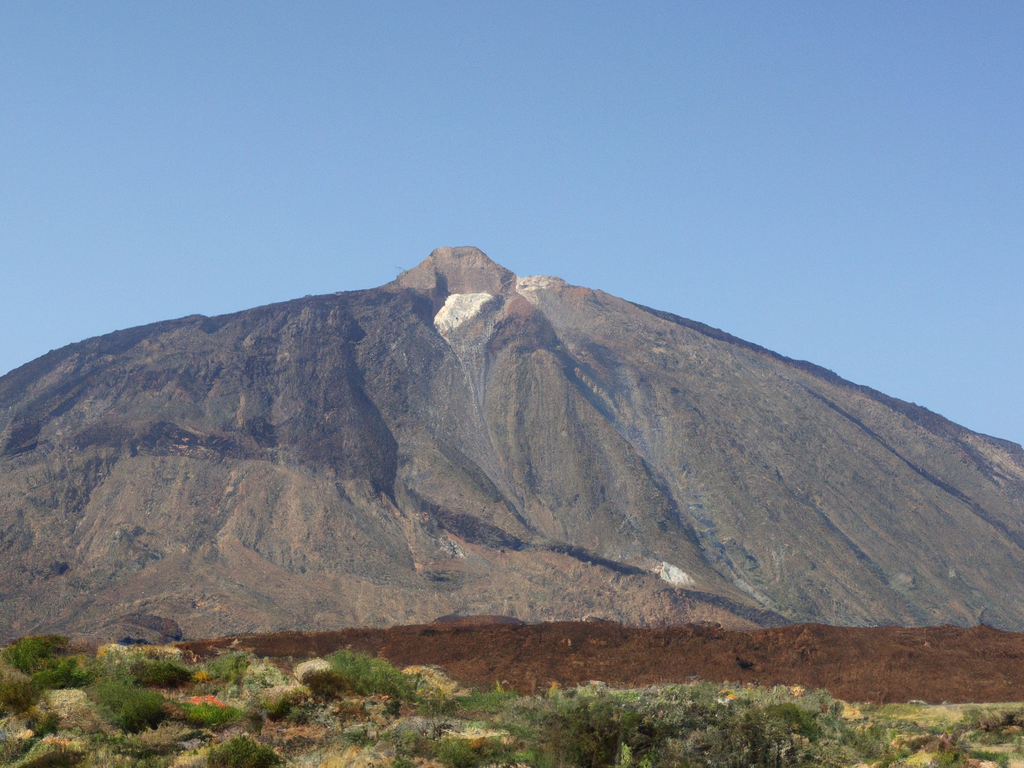
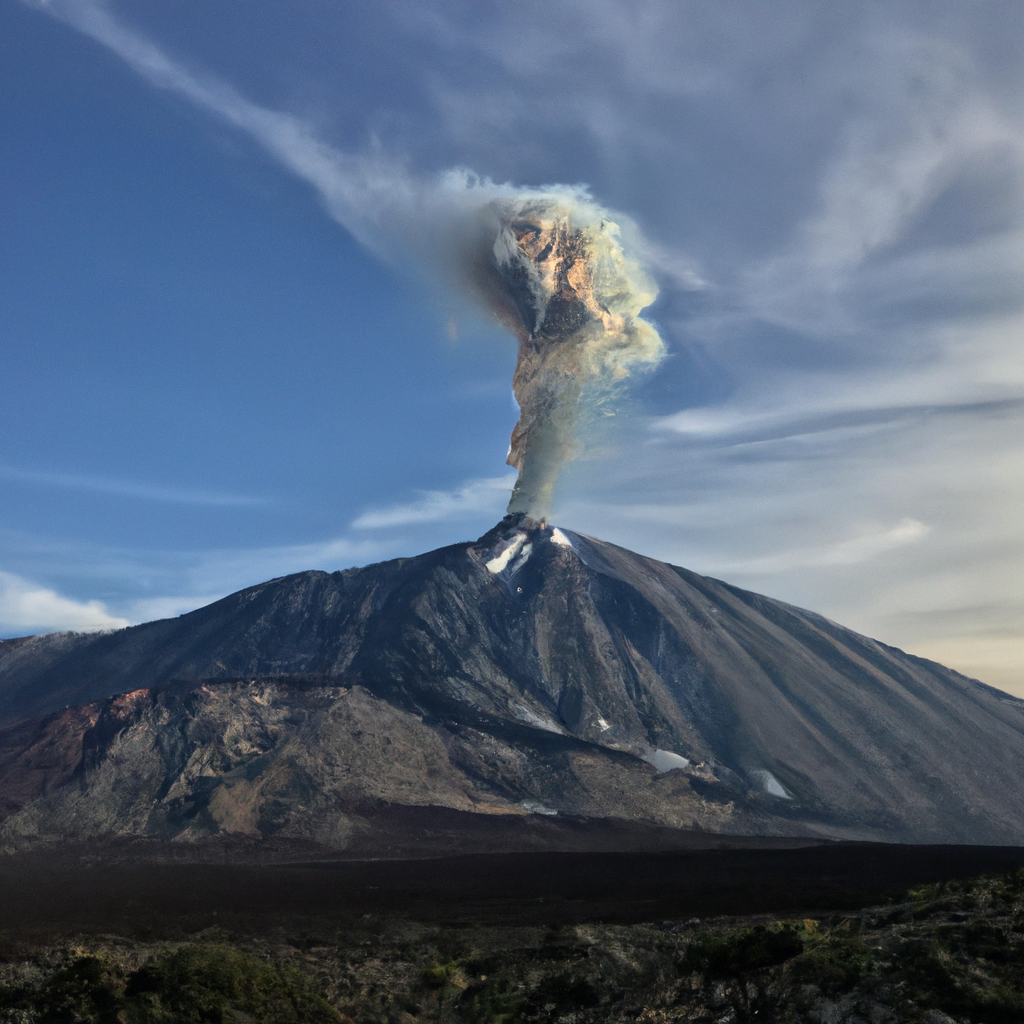
But first… let’s start with a picture of Teide volcano in Tenerife. Is it real or virtual?

Teide picture, Tenerife, created with Dall·E 2 by OpenAI. The Roaming Workshop 2022.

OpenAI API

Ok, very quickly, OpenAI is the Artifitial Intelligence (AI) megaproject from Elon Musk & Co. Within the numerous capabilities of this neuronal networks, we can generate images from natural language text, but there's much more.

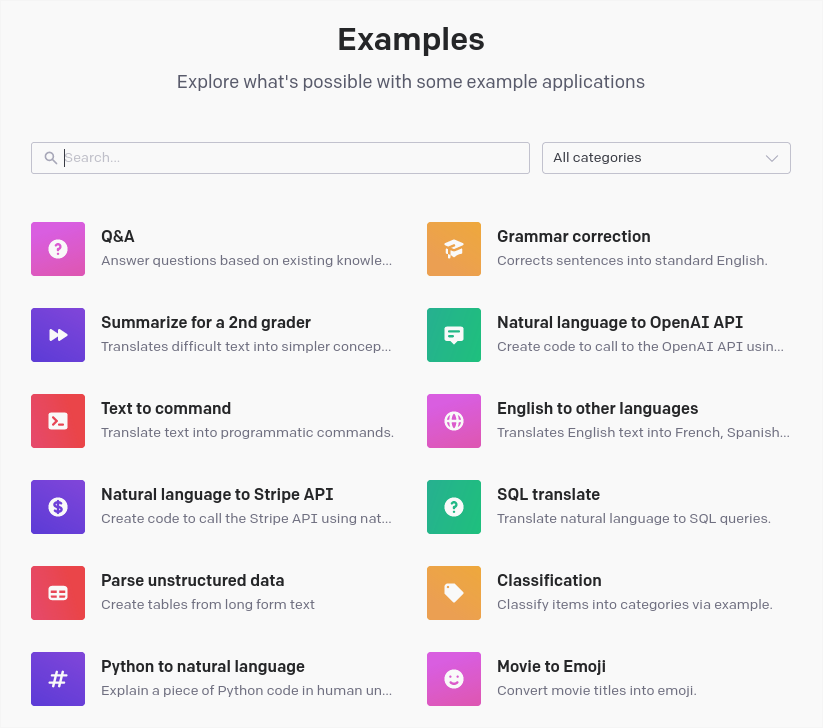
IA will make our life easier in the future, so have a look at all the examples that are open during Beta testing:

https://beta.openai.com/examples/

Basically, a computer is "trained" with real, well featured, examples so, from them, the computer generates new content to satisfy a request.

The computer will not generate exactly what you want or think, something expected, but it will generate it's own result from your request and what it has been learning during training.

Image generation from natural language might the the most graphical application, but the potential is unimaginable. Up there I just asked Dall·E for the word "Teide". But, what if we think about things that have not happened, that we have not seen, or simple imaginations? Well, AI is able to bring to life your thoughts. Whatever you can imagine is shown on screen.

Now, let's see how to use it.

Dall·E 2 API

To "sell us" the future, OpenAI makes it very easy. We'll find plenty documentation to spend hours in a Beta trial version completely open for three months, and you'll only need an email address.

Sign up to use Dall·E 2 from their web site, pressing Sign Up button.

https://openai.com/dall-e-2/

You'll have to verify your email address and then log into your account. Be careful because you'll be redirected to the commercial site https://labs.openai.com

The trial site is this one:

https://beta.openai.com

Create an API key

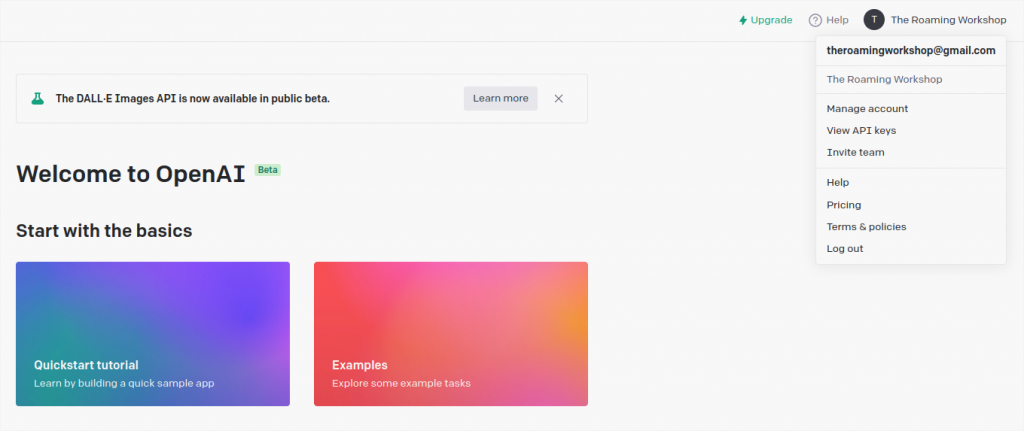
From the top menu, click on your profile and select View API keys.

If you've just registered, you'll have to generate a new secret, then copy it somewhere safe, as you'll need it to use the API commands.

Using Dall·E 2

That's it. No more requirements. Let's start playing!

Let's see how to generate and image according to the documentation:

https://beta.openai.com/docs/api-reference/images/create

To keep it simple we can use curl, so you just need to open up a terminal, be it in Window, MacOS or Linux. The code indicated is the following:

curl https://api.openai.com/v1/images/generations \
  -H 'Content-Type: application/json' \
  -H 'Authorization: Bearer YOUR_API_KEY' \
  -d '{
  "prompt": "A cute baby sea otter",
  "n": 2,
  "size": "1024x1024"
}'

Here we need to type our secret key in place of YOUR_API_KEY.

Also write a description for the image you want inside prompt.

With n we define the number of images generated by this request.

And size is the picture size, allowing 256x256, 512x512, o 1024x1024.

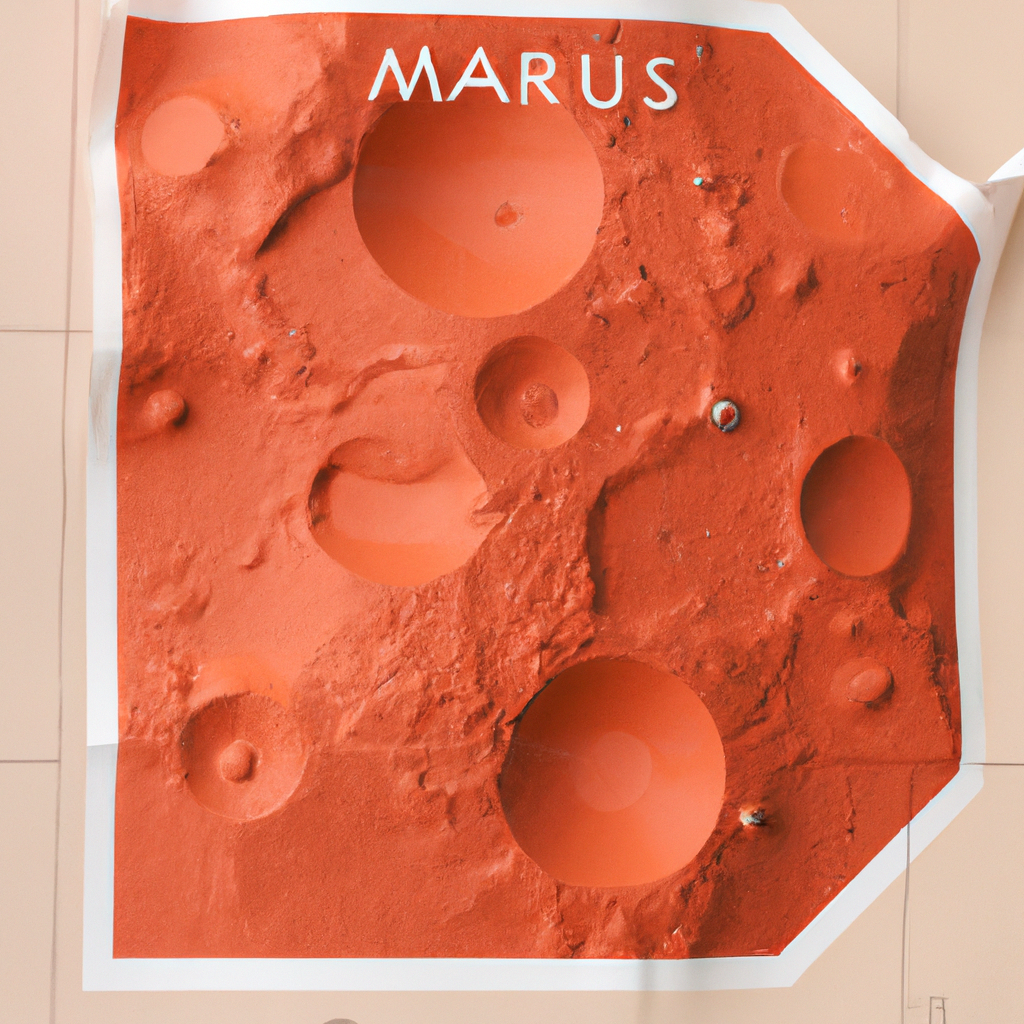
I'm going to try with "a map of Mars in paper".

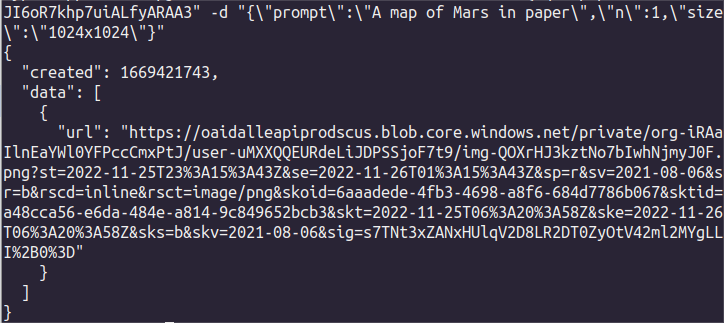
curl https://api.openai.com/v1/images/generations -H "Content-Type: application/json" -H "Authorization: Bearer sk-TuApiKeyAqui" -d "{\"prompt\":\"A map of Mars in paper\",\"n\":1,\"size\":\"1024x1024\"}"

TIP! Copy+paste this code in your terminal, replacing your secret key "sk-..." and the prompt.

You'll get back an URL as a response to your request, which is a web link to the generated image.

Open the link to see the result:

"A map of Mars in paper" with Dall·E 2. The Roaming WorkShop 2022.

Amazing!

Pricing

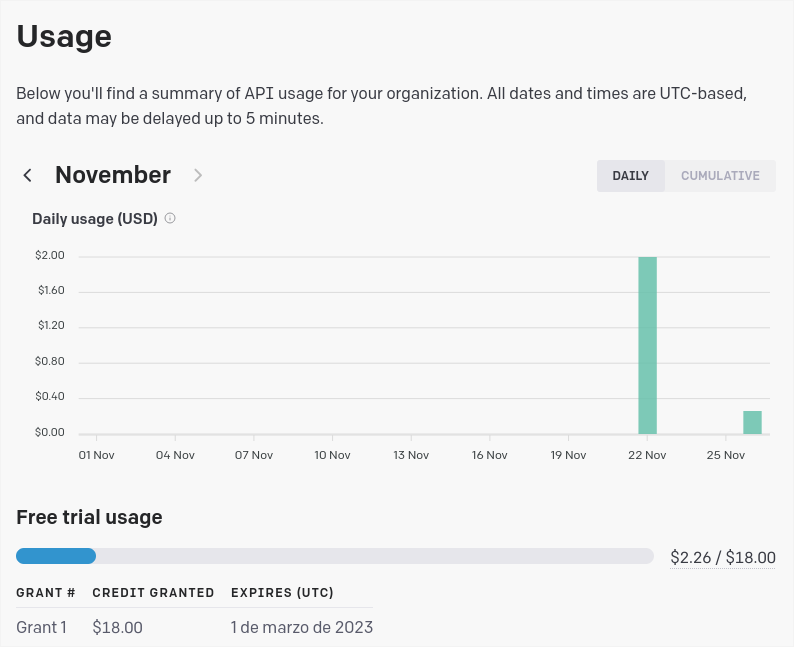
Well, well... let's get back to Earth. You wouldn't think this speed and quality would be free, would you? Go back to your OpenAI account where you can see the use that you make fo the API and how you spend your credit.

https://beta.openai.com/account/usage

As I was saying earlier, the Beta offers 18$ to spend during 3 months and every picture in 1024px is about 0,065$ (0,002$ for lowest quality).

All the main AI platforms similar to OpenAI (Midjourney, Nightcafe, DreamAI, etc) work this way, offering some credit for use, as it is the powerful performance of their servers what is being traded.

Alternatives (free ones)

There are various open-source and totally free alternatives. I invite you to try them all and choose the one you like the most, but I must warn you that there are many software and hardware requisites. You specially need a good graphic card (or several of them). In the end, you need to put in the balance how much you'll use the AI, and if it's not worth spending a couple cents for a couple pictures every now and then.

From the 4 recommendations below I have successfully tested the last two, the least powerful of them:

1. Pixray

https://github.com/pixray/pixray

Looks promising for its simple installation and use. Don't trust the picture above (it's their pixelated module) because it has plenty of complex options for very detailed image generation.

There is also plenty documentation made by users and support via Discord.

On the other hand, they recommend about 16GB of VRAM (virtual RAM from the GPU of your graphic card). I crashed for insufficient memory without seeing the results...

2. Dalle-Flow

https://github.com/jina-ai/dalle-flow#Client

Very technical and complex. The results look brilliant, but I couldn't achieve installation or web use. It uses several specific python modules that supposedly run on Google Colab. Or it's discontinued and it's currently broken, or the documentation is poor, or I'm a completely useless on this... Additionally the recommend about 21GB of VRAM to run standalone, although it could be shared using Colab... I could never check.

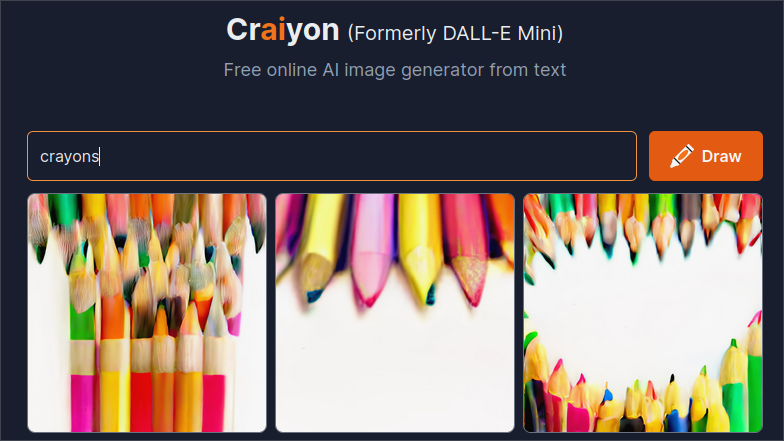
3. Craiyon

https://www.craiyon.com/

The former Dalle-mini created by Boris Dayma has a pactical web version totally free (no credit or payments, only a few ads while loading).

Although results aren't brilliant from scratch, we can improve them using Upscayl (I'll tell you more about it later).

4. Dalle-playground

https://github.com/saharmor/dalle-playground/

One of the many repositories derived from dalle-mini, in this case comes in a handy package that we can use freely with no cost in our home PC having very little hardware and software requirements. It runs as a local webapp in your browser as it generates a server that you can access anywhere in your network.

Together with Upscayl, they make good tandem to generate AI images in your own PC for free.

In the next post we'll see how to generate this images in our ordinary PC, with Dalle-playground y Upscayl.

That's all for now! I wait your doubts or comments about this Dall·E post on 🐦 Twitter!

🐦 @RoamingWorkshop