I had a Shelly Dimmer inside a plug box in the wall, but one good day it stopped working (probably because of high temperatures, as it stands up to 35ºC). Looking for an alternative, I found Sonoff had released their equivalent for 1/3 the price of Shelly.
But in the end, cheap turns expensive, as it is much more complicated to configure than Shelly Dimmer and it has a bigger size.
After many tests, and given the poor documentation, here I explain how to configure Sonoff D1 Dimmer to use the local API without depending on the e-weLink app.
Additionally, given its size, you wont find much space for it in your connection boxes, so I’ll give you the idea to craft an external connection expansor.
Requirements
- Sonoff D1 Dimmer.
- Two wire electrical cable (line and neutral).
- Female plug socket.
- Male plug.
- Sonoff RM-433 remote controller (very recommended).
- Assembling material for a case (3D printer, plywood, etc).
Electrical connection
The first thing you need to achieve is to connect the D1 to the 220V domestic network, following the schematic given in the user manual:
https://sonoff.tech/wp-content/uploads/2021/03/%E8%AF%B4%E6%98%8E%E4%B9%A6-D1-V-1.1-20210305.pdf

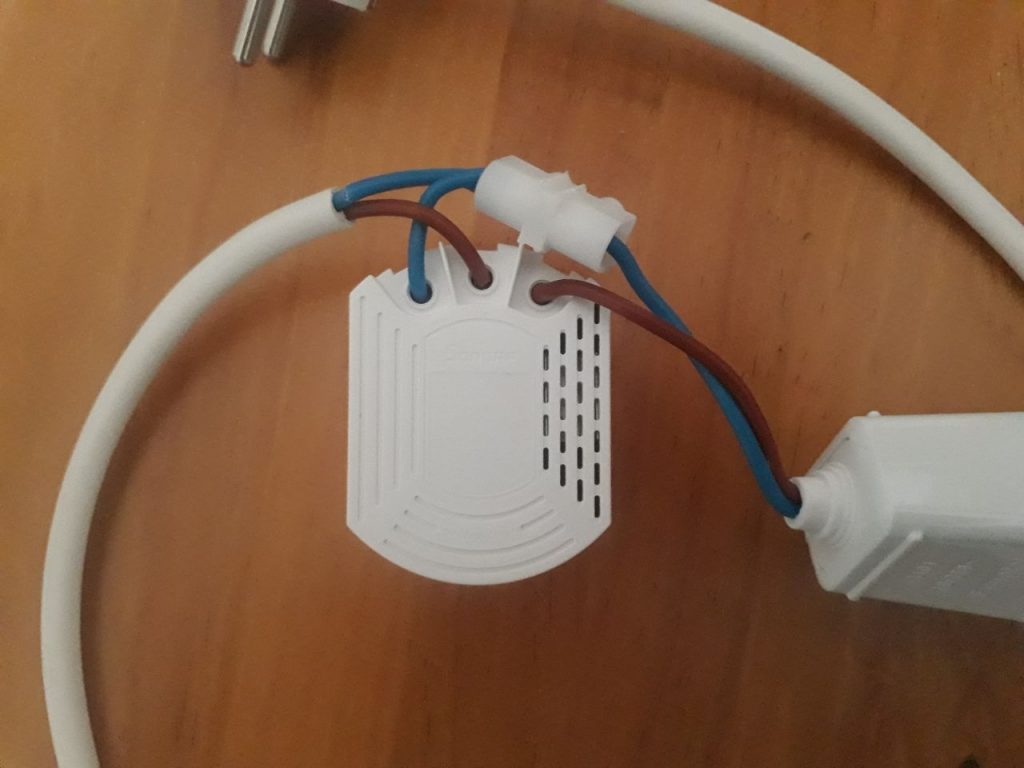
The previous schematic more or less complies with European norm:
- Line (positive): black, brown or grey (red in this case...)
- Neutral (negative): blue.
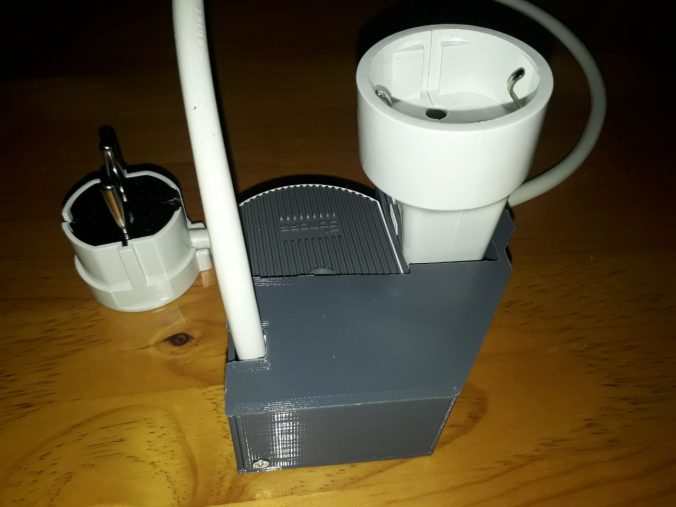
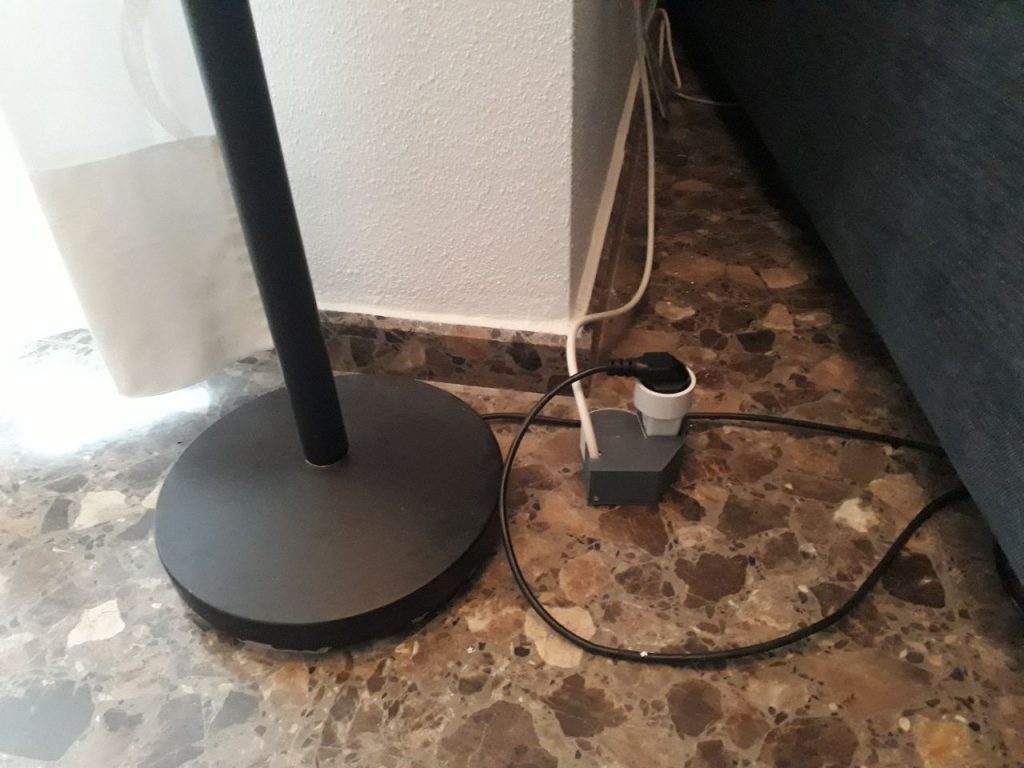
Shelly Dimmer is much more compact and fits easily in a connection box. But not in this case, so I will connect it externally using an extension lead, and I will later detail a simple case for its assembly.
TIP! If you're not experienced in electricity, you should review quite a bit and move forward with caution. It's not nice to have a shock with the domestic network. If you do the connection externally this way you won't be in much danger.
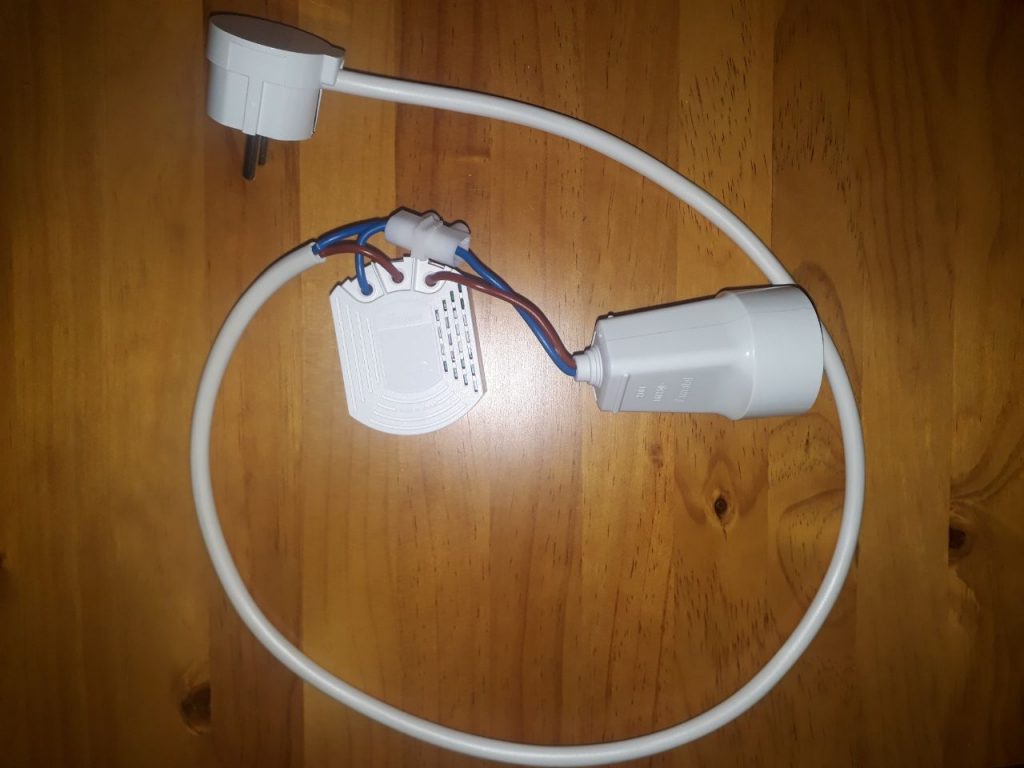
For the moment we can now make it work.
Internet connection
This is the complicated bit, as with so much casing, apparently there was no place for the usual pushbutton to power on/off and restore the device.
If you're lucky, your Sonoff wont be preconfigured and you might be able to connect to it on the first attempt. If it's preconfigured, probably to check its operation in another network, the device is no longer accessible even with the e-weLink app, unless you are in the network where it was configured.
To detect it, you must restore to default settings and for this you have two options:
- Restore using e-weLink app from the network where it was configured (very unlikely you have access to it).
- Restore using Sonoff RM-433 remote controller (you'll end up buying this extra accessory).
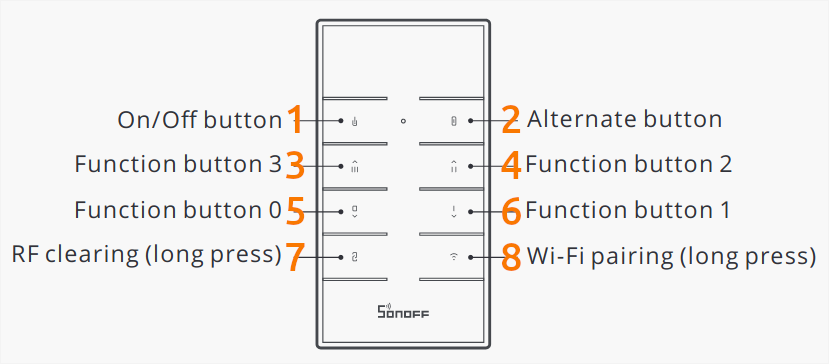
Pairing Sonoff RM-433 remote controller
In the end, the cheap D1 price has doubled with the need to buy the RM-433 remote controller, but the price is still not mad. Here is its manual:
https://sonoff.tech/wp-content/uploads/2021/03/%E8%AF%B4%E6%98%8E%E4%B9%A6-RM433-V1.1-20210305.pdf
The first thing to do is to pair the controller with the D1:
- Connect the D1 to a socket.
- Hold button 7 for some 5 seconds, until you hear a beep (this removes the previous radio-frequency assignment).
- Unplug and plug the D1 to get it restarted.
- Press any button on the controller so it's assigned to the D1.
- You'll hear another beep and the controller is now paired and can be used to control the D1.
Restore WIFI network
Now you need to restore the network assigned to the D1.
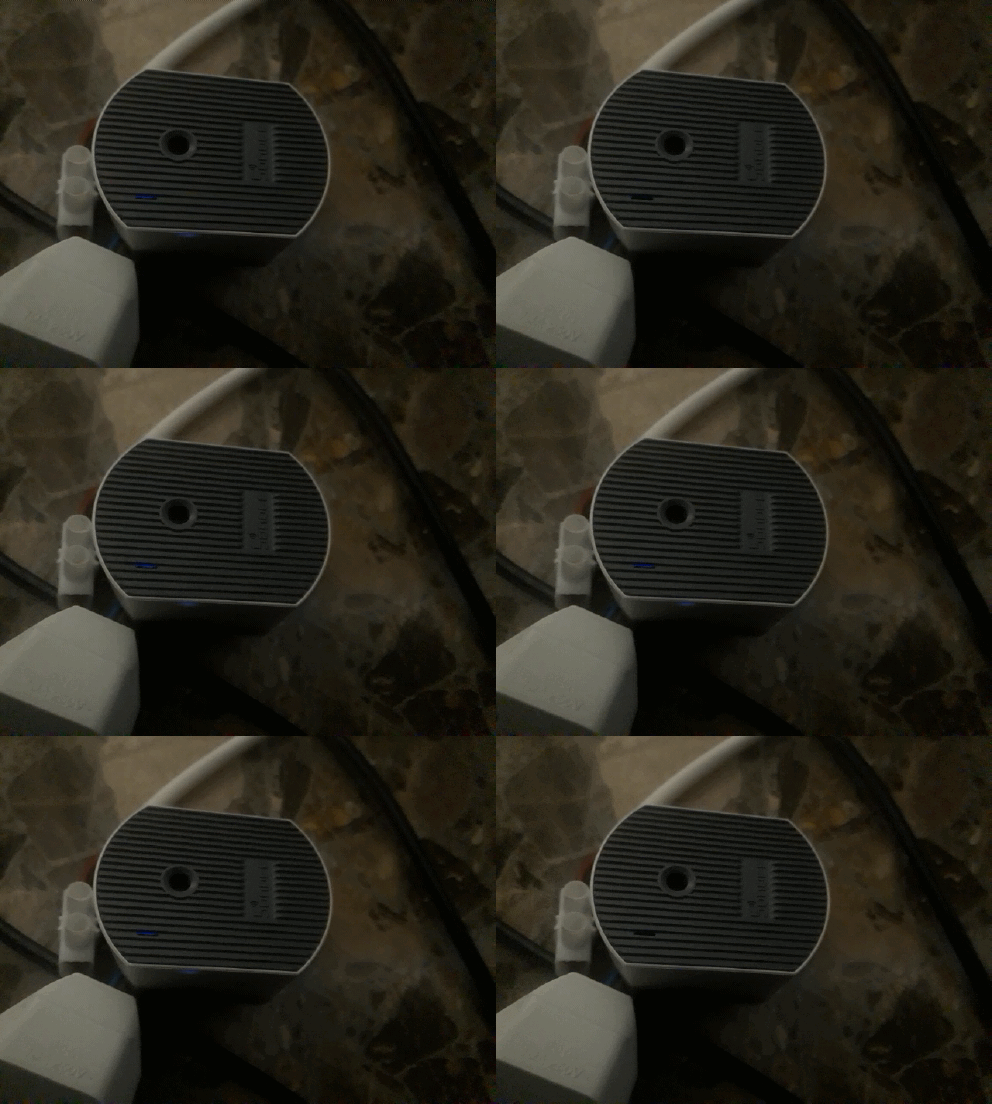
Hold button 8 for some 5 seconds, or basically, until the led starts blinking this way:
You removed the previous network. Now set it to pairing mode.
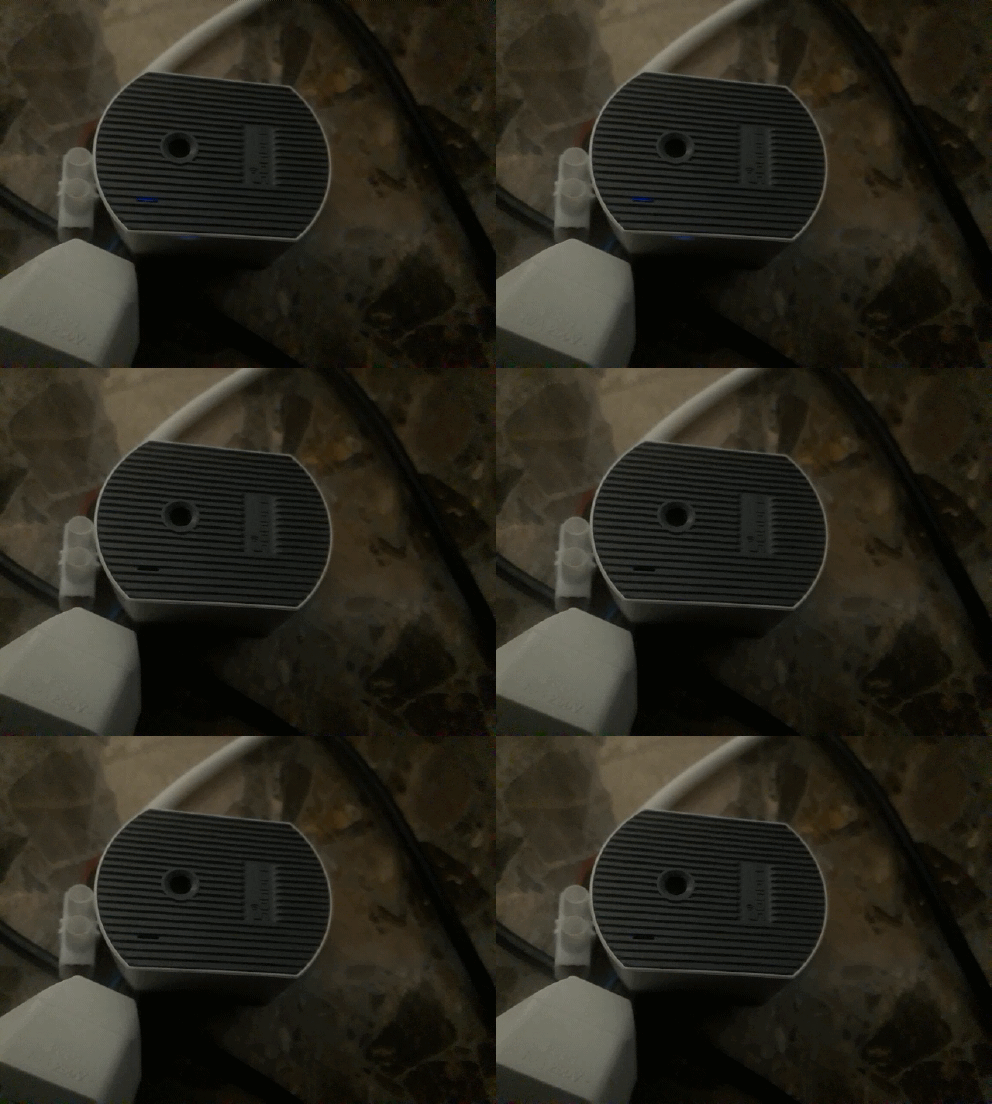
Again, hold button 8 for some 5 seconds, or until the led starts blinking continuously:
This way, the device starts a WIFI Access Point (WIFI AP) with a name in the form ITEAD-XXXXXXXXXX.
Pairing with e-weLink
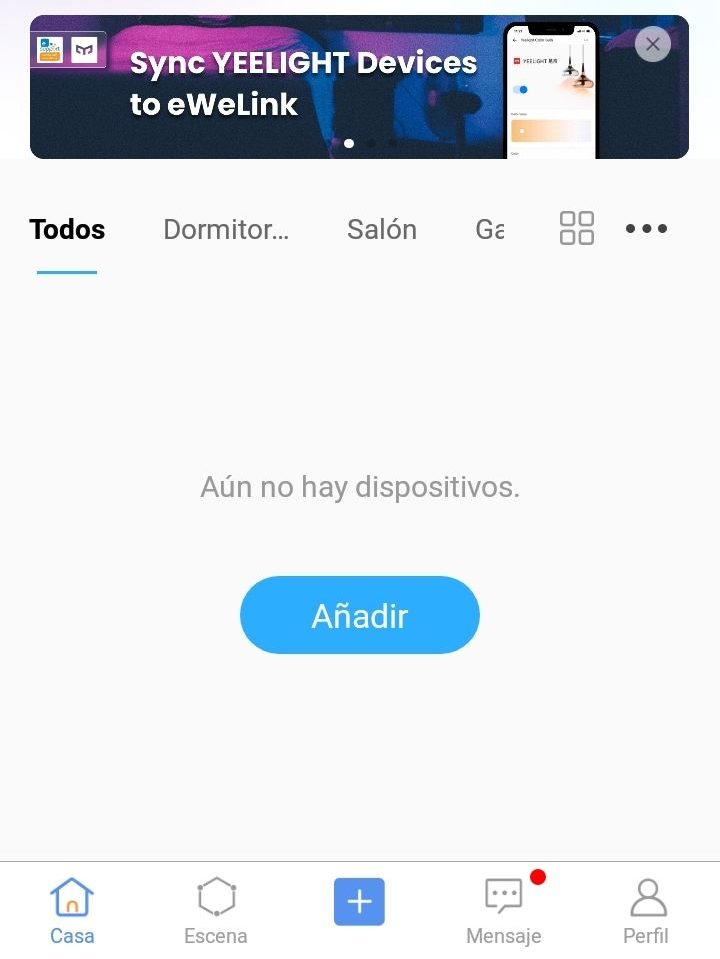
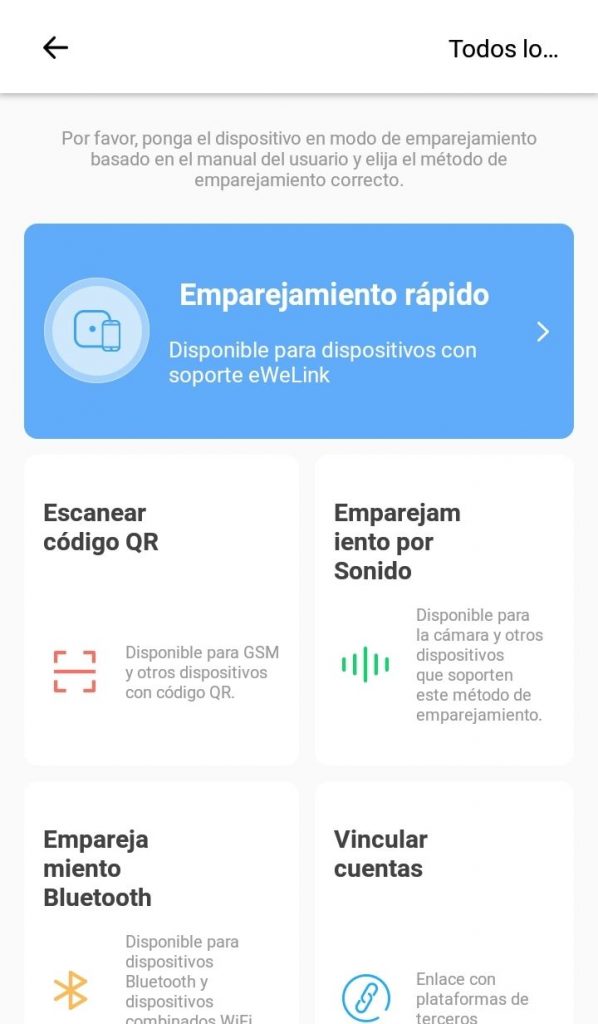
From here, if you want the easy route, just download the e-weLink app and press the quick pairing button. You'll then have your D1 accessible from this app.
Pairing in DIY mode
But I want the complicated way and enable DIY mode to access the device network and control it using commands from the HTTP API in a web app.
We need to find the WIFI network named ITEAD-XXXXXXXXXX set up by the device and connect to it using the password 12345678.
Now open a web browser and access this address http://10.10.7.1 where you'll find the following screens.
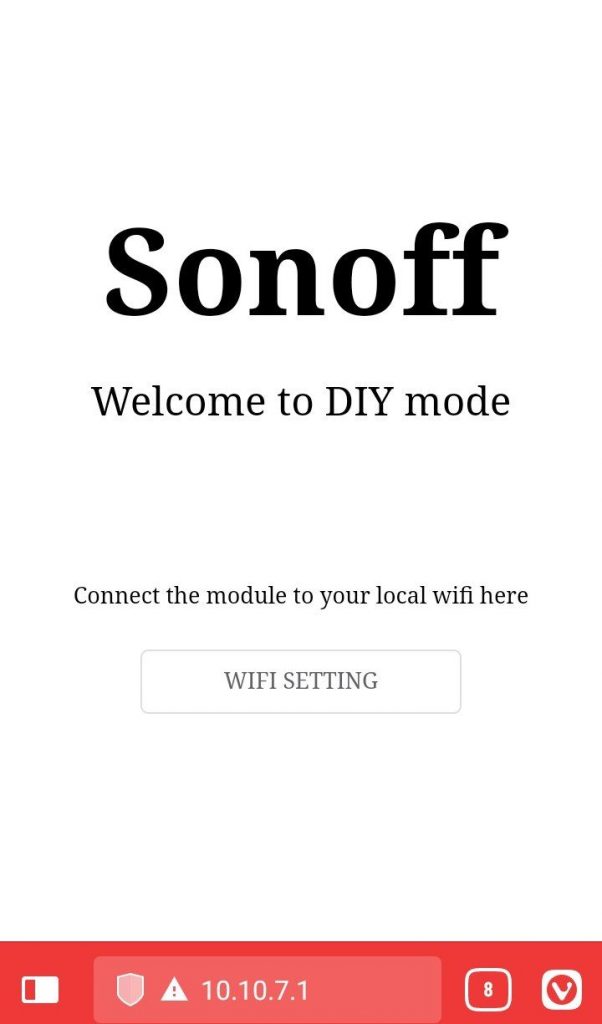
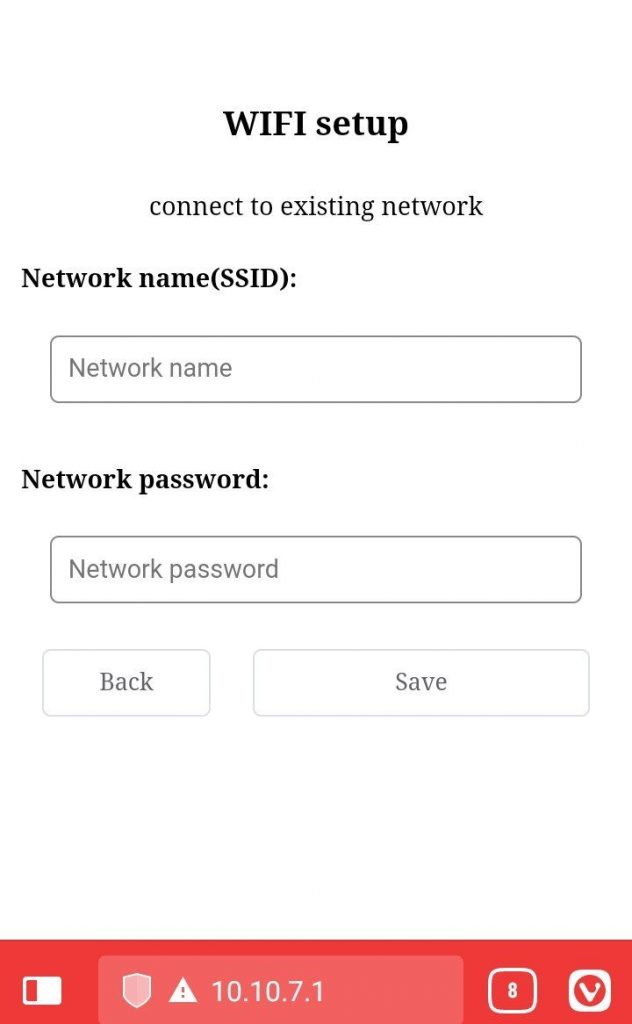
Introduce the name (SSID) and password of your WIFI network, and the device is now linked to it.
Assembly
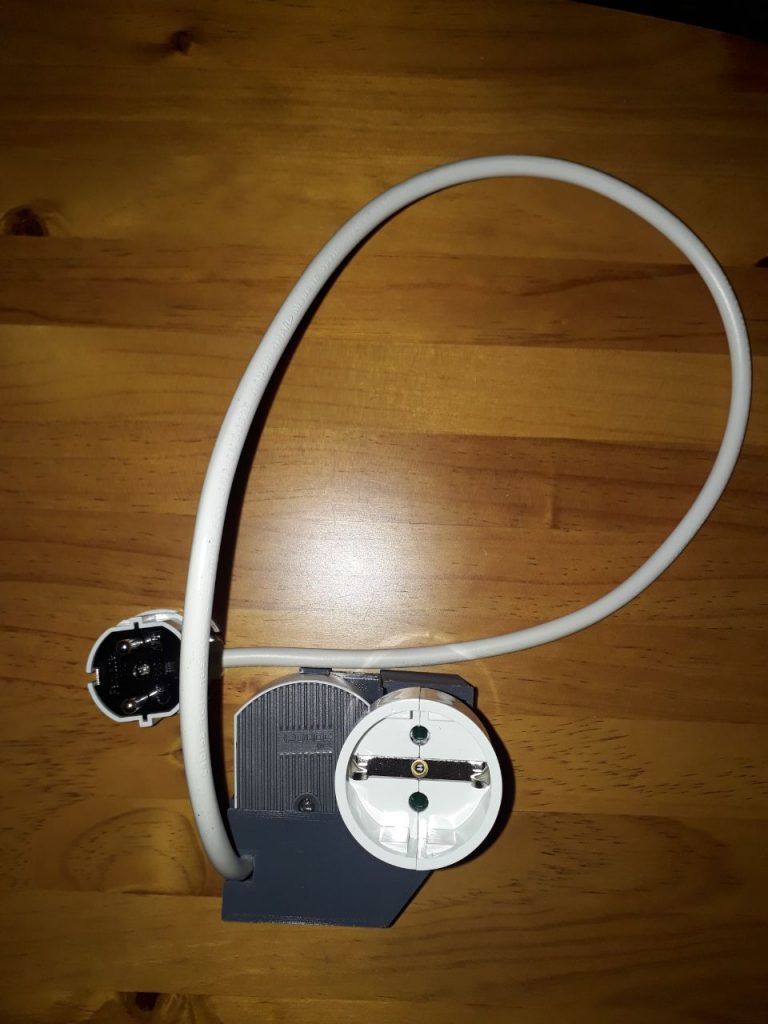
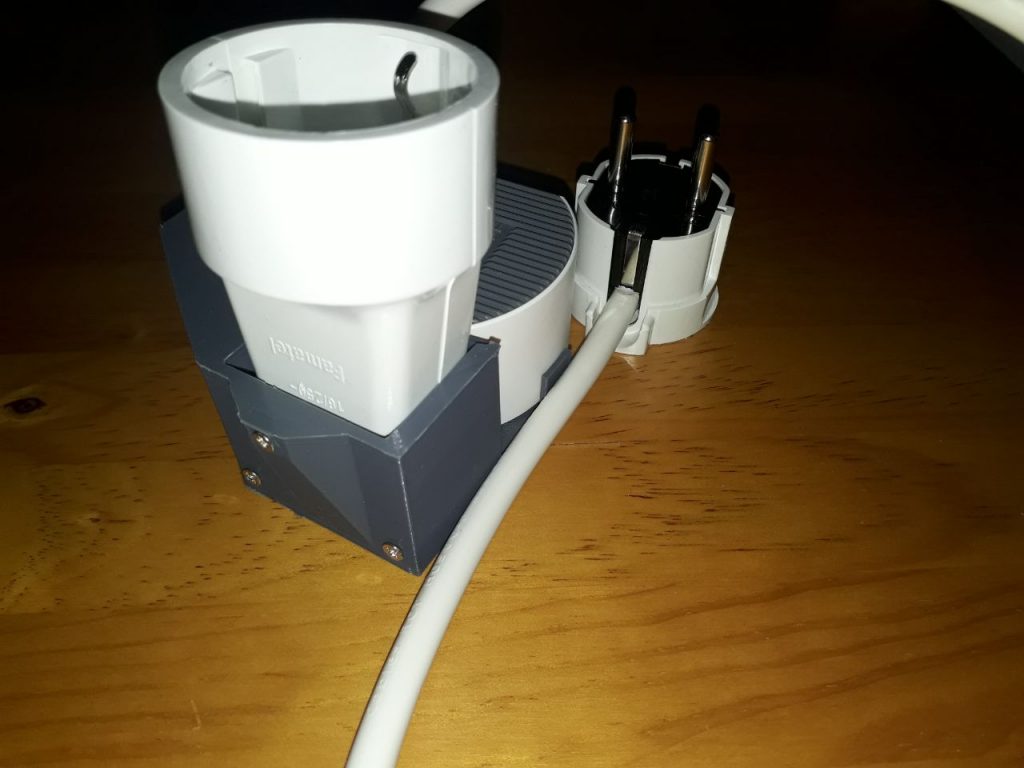
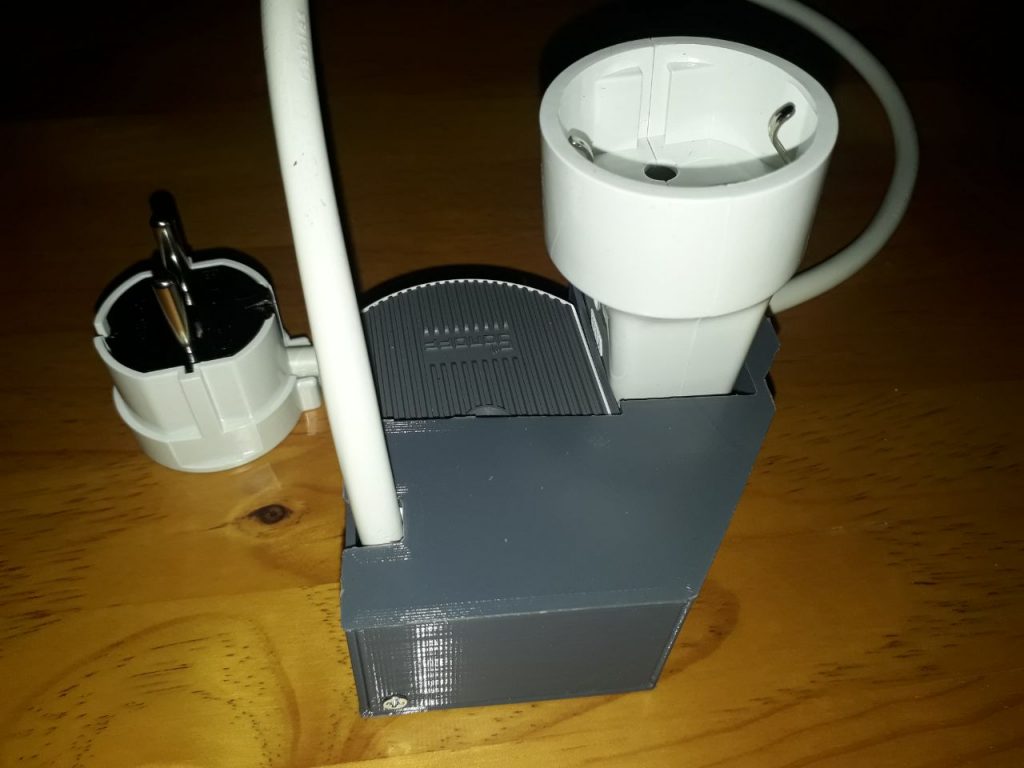
Before getting into the detail of the HTTP API, I'll show you a 3D printed case design to avoid the cables and connections being completely exposed.
It consists of two PLA pieces (base and top) which can be screwed together and which you can download from this server:
https://theroamingworkshop.cloud/demos/D1case_v1_base.stl
https://theroamingworkshop.cloud/demos/D1case_v1_top.stl
You can also preview here:
D1 HTTP API usage
To use the command of the HTTP API you must know the device IP in your local network.
Find IP in the router
You can access the network map in your router, usually from the address http://192.168.1.1
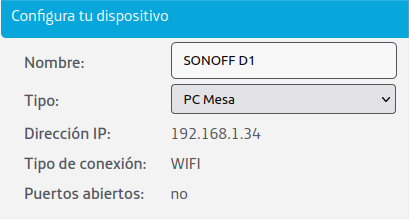
The address and the password should be in some sticker in your router. Then you'll see your device with a name like ESP-XXXX which derives from the WIFI module it holds (I already renamed it here):
Find IP using nmap
In a terminal you can use the tool nmap to scan your local network.
- Download it if not done yet:
sudo apt-get update
sudo apt-get install nmap - Scan your network (using sudo you'll get the MAC address, which is useful as the IP could change when restarting the router)
sudo nmap -v -sn 192.168.1.0/24
Send HTTP requests to the D1
Sonoff's D1 HTTP API is documented in their website:
https://sonoff.tech/sonoff-diy-developer-documentation-d1-http-api/
In order to communicate with the device, you need to send HTTP requests using some software like Postman or using curl or wget in a terminal.
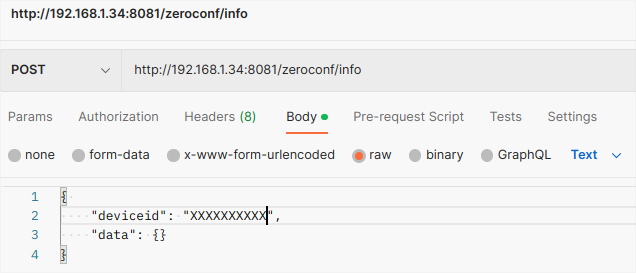
The request is sent to the device IP, to the default port 8081, and we also have to include the device id in the request body (this id matches the XXXXXXXXXX coding in the WIFI network name ITEAD-XXXXXXXXXX).
Let's see some use cases with curl and Postman.
Device information
http://[ip]:[port]/zeroconf/info
- curl
curl -X POST 'http://192.168.1.34:8081/zeroconf/info' --data-raw '{"deviceid": "XXXXXXXXXX","data": {}}'
- Postman
- Response
{
    "seq": 6,
    "error": 0,
    "data": {
        "deviceid": "XXXXXXXXXX",
        "switch": "off",
        "startup": "off",
        "brightness": 60,
        "brightMin": 0,
        "brightMax": 100,
        "mode": 0,
        "otaUnlock": false,
        "fwVersion": "3.5.0",
        "ssid": "TU_RED_WIFI",
        "bssid": "XX:XX:XX:XX:XX:XX",
        "signalStrength": -58
    }
}
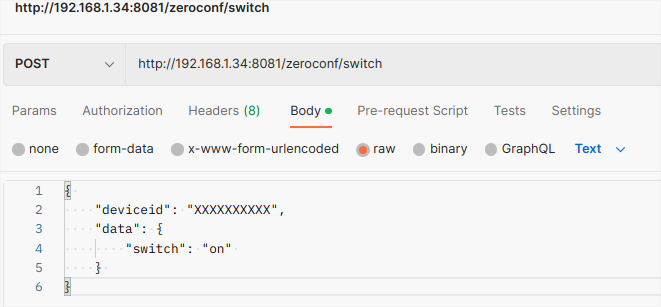
Turn on/off
http://[ip]:[port]/zeroconf/switch
- curl
curl -X POST 'http://192.168.1.34:8081/zeroconf/switch' --data-raw '{"deviceid": "XXXXXXXXXX","data": {"switch":"on"}}'
- Postman
- Response
{
    "seq": 9,
    "error": 0
}
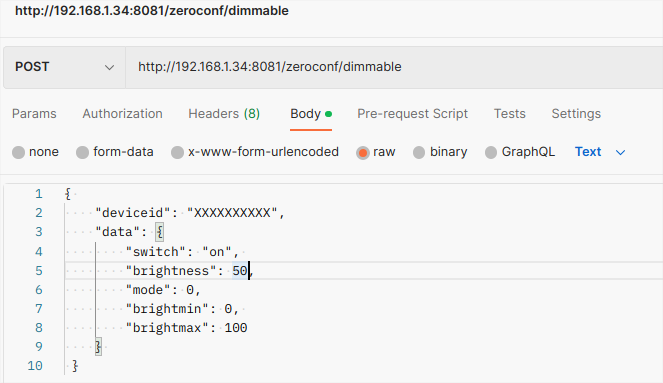
Brightness adjustment
http://[ip]:[port]/zeroconf/dimmable
- curl
curl -X POST 'http://192.168.1.34:8081/zeroconf/dimmable' --data-raw '{"deviceid": "XXXXXXXXXX","data": {"switch":"on","brightness":50,"mode":0,"brightmin":0,"brightmax":100}}'
- Postman
- Response
{
    "seq": 14,
    "error": 0
}
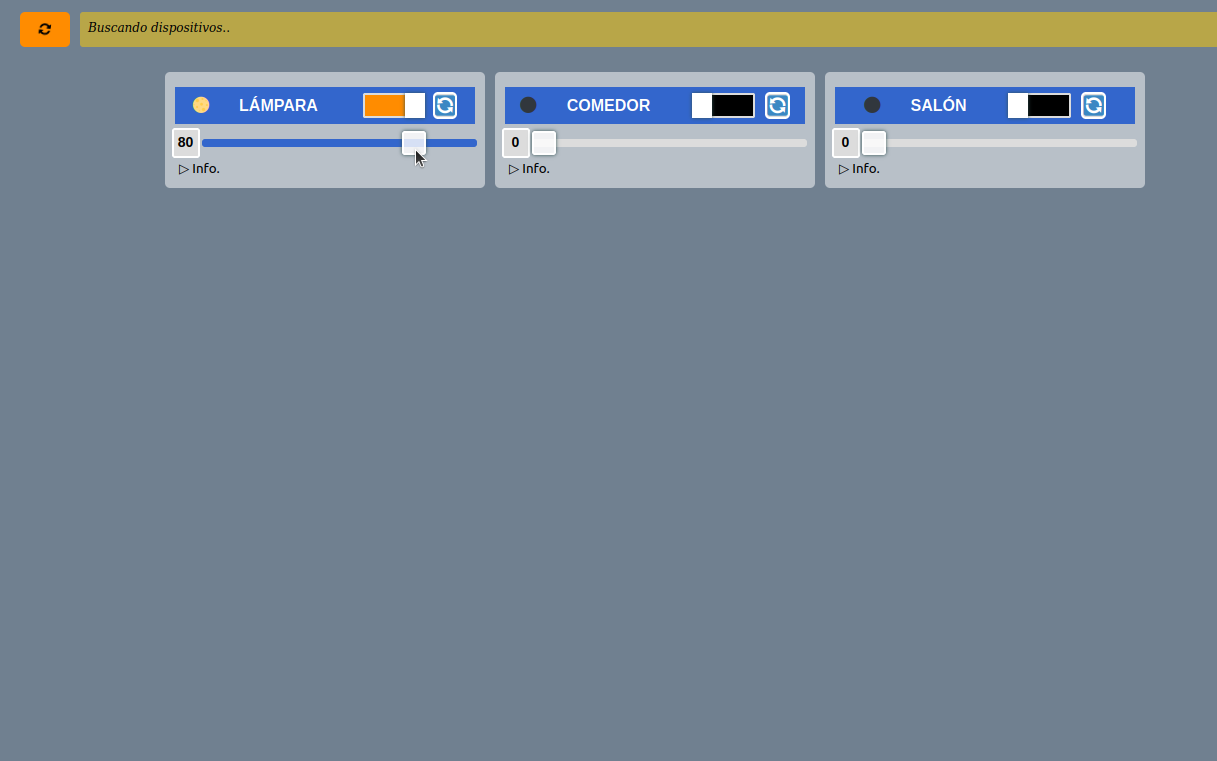
Now you're ready to program your own app and control your D1 to your like in a completely private way. I hope this was useful, but if you find any doubts or comments, don't hesitate to drop them on Twitter 🐦!
