Blender is (to me), the top free 3D modelling software. It’s got a huge community, tones of documentation, tutorials and, overall, continuous updates and improvement.
One of the most useful tools is BlenderGIS, an external plugin that lets us drop geographical data, georeferenced or not, and model with them.
Let’s see a use case with an elevation model.
Installation
First thing to do is to download and install Blender from an official source (their website) or from our OS app store:
https://www.blender.org/download/
Now, download BlenderGIS from the author's github as a .zip file:
https://github.com/domlysz/BlenderGIS
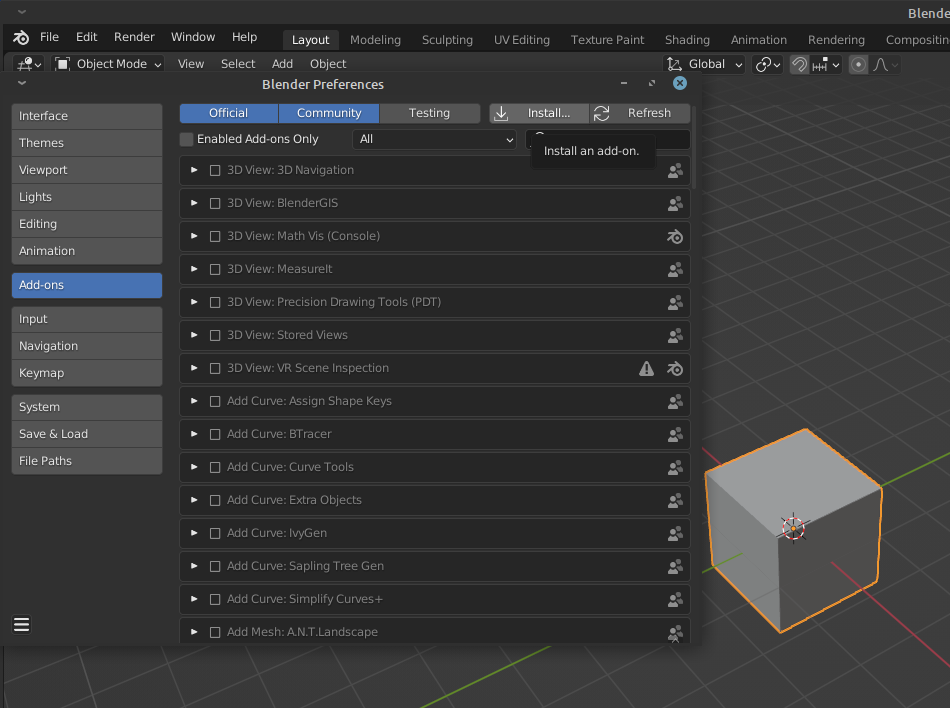
Let's now start Blender and open Add-ons settings (Edit > Preferences > Add-ons).
Press "Install..." and select the BlenderGIS .zip file.
Now you can search it and activate it.
You'll see there's a new "GIS" option in Blender's top bar.
Download geographical information
In this example I will use a Digital Terrain Model in ASCII format (.asc), as it is one of the working formats for BlenderGIS and also the standard for my download source.
If the information you download is in another format, like .tiff or .xyz, you can convert it using some software like QGIS or ArcGIS.
MDT
In my case, I will use MDT200 from spanish IGN, a terrain model with 200m cell size, as I want to show quite a large area that includes the province of Álava.
https://centrodedescargas.cnig.es/CentroDescargas/index.jsp
Orthophoto
We can also use an orthophoto as a terrain texture. For this, I will be using QGIS and I will load a WMS also from IGN so I can clip the satellite image exactly to the terrain tile extent.
Load the orthophoto and the terrain layers, then export the orthophoto layer as a rendered image and set the extension from the terrain layer. I will set the cell size to 20 meters (although the imagery allows up to 20cm cell size, which would result in a huge file; the 20m image is already 140MB).
TIP! One way to optimize detail is to generate a grid of smaller size images but higher resolution.
Modelling in Blender
Now it's all ready for Blender.
Using the "GIS" menu, import the terrain layers as an ASC grid. You'll see it quickly shows up on screen.
TIP! This model is centered in coordinate origin, but you can georeference the model setting a CRS in the "Geoscene" properties.
Let's add the satellite image:
- Create a new material.
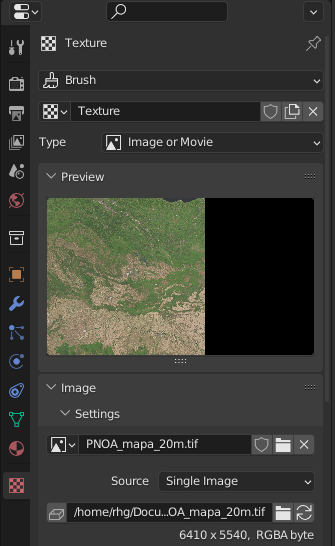
- Create a new texture and load the satellite image.
- Now move to UV Editing tab.
- Select the terrain layer on the right window, enter Edit Mode, and "Select all" faces (Ctrl+A). You should see it orange as below and make sure you are in "Top" view (press number 7).
- Click on "UV" tools in the top menu and project the terrain layer with "Project from View (bounds)". This makes it fit the image extent.
- On the left window, choose the image texture to apply to the projection and see how the grid adjusts to it (try making zoom on it)
- Finally, go to the Shading tab and add the element "Image Texture", choosing the right image and connecting Vector to UV and Color to Shader (just copy the image below).
If you now go to the Layout window, the model will show the satellite image perfectly adjusted.
And it's ready so you can edit and export your model, for example, for 3D printing or for a realistic Unity3D scene.
Doubts or comments? Come over 🐦 Twitter!


