tech explorers, welcome!

Category: Linux

Linux

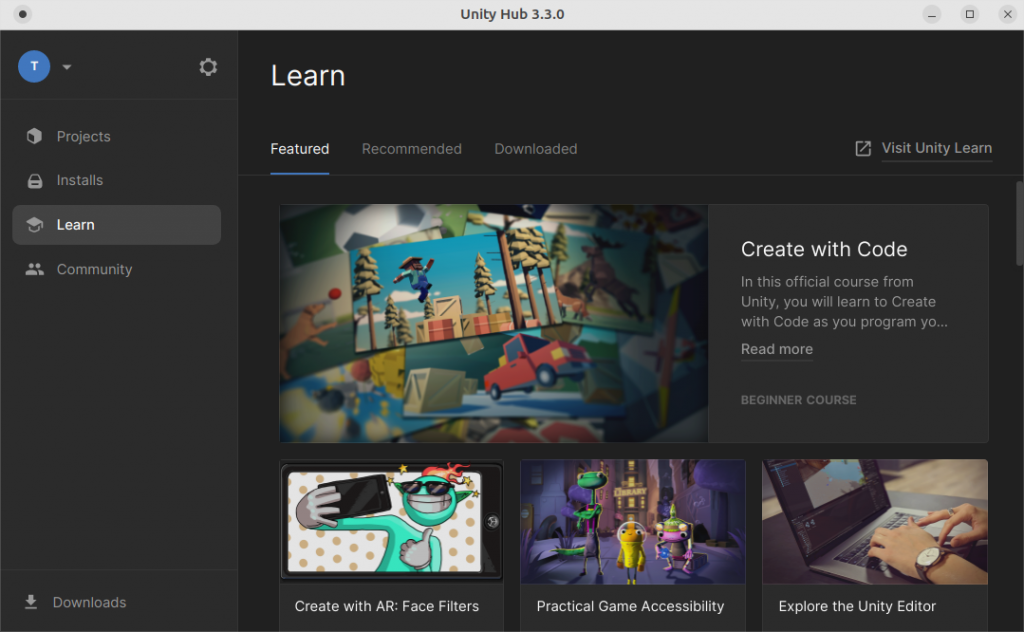
Installing UnityHub in Ubuntu 22

If you recently updated to Ubuntu 22 and tried to install UnityHub following the steps in their website:

https://docs.unity3d.com/hub/manual/InstallHub.html#install-hub-linux

Everything looks fine until you run the program and this happens:

>> unityhub
This error originated either by throwing inside of an async function without a catch block, or by rejecting a promise which was not handled with .catch(). The promise rejected with the reason:
ConnectionLost: Timeout! Cannot connect to Licensing Client within 60000ms
    at Function.fromType (/opt/unityhub/resources/app.asar/node_modules/@licensing/licensing-sdk/lib/core/ipc/licensingIpc.js:51:16)
    ...

Luckily, surfing the web you usually find the solution, and this one was in the same Unity forum:

https://forum.unity.com/threads/installing-unity-hub-on-ubuntu-22-04.1271816/#post-8136473

Let’s check the installation step by step:

Installing UnityHub on Linux

Following the official steps from their site (first link in the post):

  1. Add the Unity repository to your sources list:
    sudo sh -c 'echo "deb https://hub.unity3d.com/linux/repos/deb stable main" > /etc/apt/sources.list.d/unityhub.list'
  2. Add the public key to make it trustful:
    wget -qO - https://hub.unity3d.com/linux/keys/public | sudo apt-key add -
  3. Update your repositories:
    sudo apt update
  4. Install UnityHub:
    sudo apt-get install unityhub

It should all go fine, despite an error with some “chrome-sandbox” folder. But that’s not the error. Running unityhub from the terminal we have the above error.

Installing libssl1.1

The problem is that Ubuntu 22 uses a more recent version of libssl package, but we can still download the version used by Ubuntu 20.

  1. Access Ubuntu 20 packages site, where you find libssl1.1
    https://packages.ubuntu.com/focal/amd64/libssl1.1/download
  2. Right-click -> save as… over the link to the file starting with security.ubuntu.com/ubuntu… (or just click the link below; you’ll download a .deb instaler file)
    http://security.ubuntu.com/ubuntu/pool/main/o/openssl/libssl1.1_1.1.1f-1ubuntu2.16_amd64.deb
  3. Double-click the downloaded file and install the package.
  4. Now run unityhub in the terminal and done!

🐦 @RoamingWorkshop

Move your Raspberry Pi into a new SD card.

There are plenty of lenghty explanations around the web on how to clone a Linux OS onto a new device, but I came through this great tool on my Pi which reduces it to a few minutes and no typing at all.

It is a built-in “SD Card Copier” which you can use to regularly backup your OS, or upgrade your file system to a larger SD card, which is my case.

1. Setup.

As mentioned, I want to move my Raspbian OS to a larger and faster SD card. Both cards need to be accessible on your Pi, so I got it set up like this:

  • Raspberry Pi 4B with Raspbian 10 Buster
  • 32Gb SD card on Pi's SD card slot.
  • 128Gb fast SD card on USB adapter via Pi's USB
  • For a backup, you can plug in a USB stick and transfer the backup onto it.

We will be using the "SD Card Copier" or "piclone", which should be built-in but you can install it on Raspbian via:

sudo apt-get update

sudo apt-get install piclone

[Not tested!] Piclone should work for other Linux distributions, if you're skillful enough to build all the required dependencies. In that case, you can access the github repository and follow the instructions there:

https://github.com/raspberrypi-ui/piclone

2. Transfer your OS via piclone.

Open the "SD Card Copier" either by finding the app launcher or via terminal, and make sure you have superuser permissions:

sudo piclone

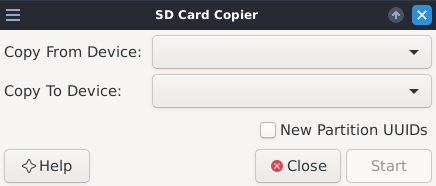
The software is very simple and just looks like this:

Select each device from the drop down lists, and click "Start".

After a little while you will have a bootable copy of your current OS.

Help documentation mentions a 10-15minutes wait, but it took quite longer as it depends on your storage size.

3. Launch your new card.

Finally:

  • shut down your Pi
  • swap cards, and
  • check it is all up and running
  • with the upgraded storage
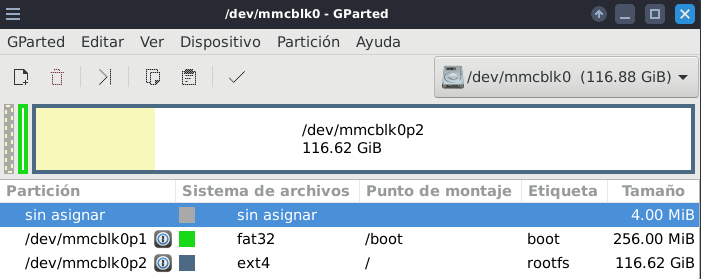
Using GParted to check the new partition details

Spotify for Raspberry without Premium

Blocking page when accessing Spotify via Firefox ESR or Chromium

You would have thought that you could just plug your Raspberry Pi to your monitor and play some background music on Spotify through your browser from the usual open.spotify.com. Well, you probably found the message above and ran in circles for a while until you got here. Glad I can help!

Increased security on Spotify makes it only available via 64bit versions of Chrome, Firefox and Edge which restrict hacking and fraudulent streaming without a premium account.

Premium.

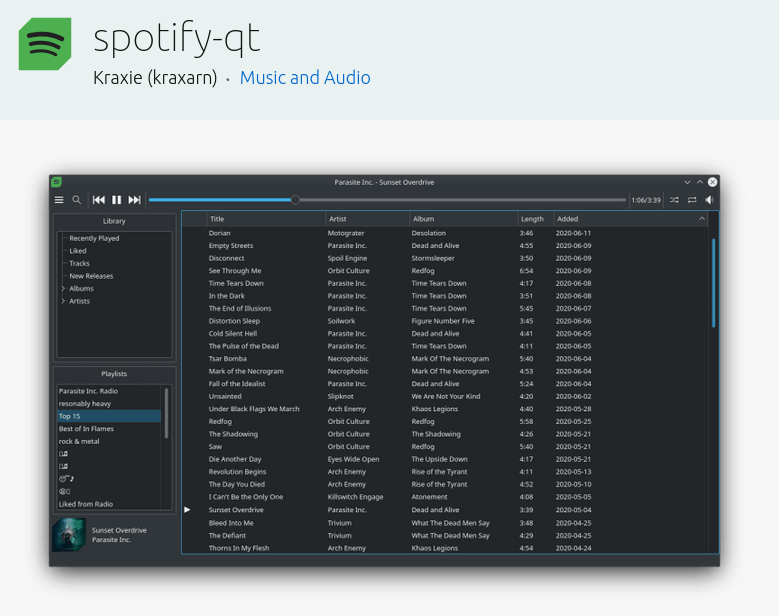
If you have a premium account, go the easy way and make use of one of the apps available like Raspicast (to stream from your phone), Raspotify and spotify-qt, which will grant you access to your music with some little config.

spotify-qt from snapcraft.io

Non-Premium.

For those of us who love listening to ads (and not paying a buck), the journey is not that hard. We just need to install the Widevine library:

sudo apt-get install libwidevinecdm0

Then we reboot the system and access open.spotify.com via Chromium.

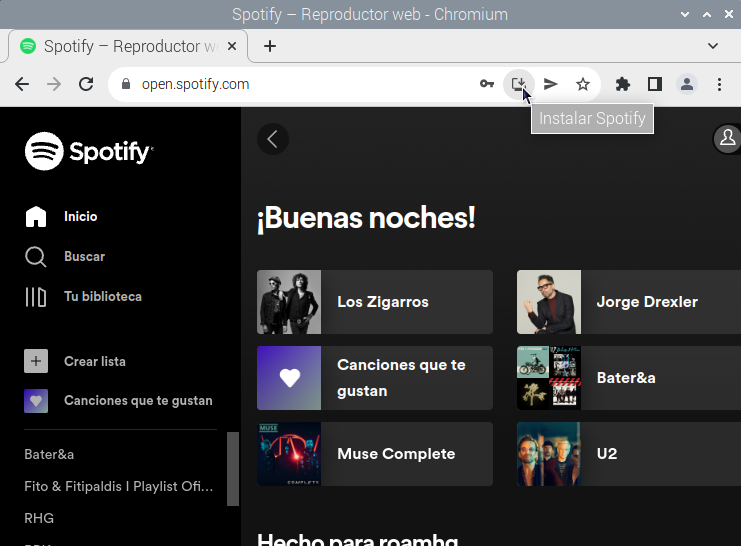
Log in and you should see the usual interface without the previous annoying message.

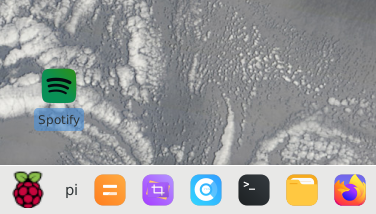
Lastly, we can install a shortcut in our desktop using the button in the navigation bar. And that´s it! Now you can fully enjoy Spotify on your Raspberry!

Spotify web in Chromium Browser for Raspberry Pi

Any issues or comments, let me know via Twitter 🐦! See you soon!

🐦 @RoamingWorkshop