To avoid the use of unnecessary external plugins, here you’ll see how to make your own widgets for your WordPress site or to insertthem in any post.
All you need to know is some HTML and javascript. Let’s get down to it!
Custom HTML
If you've seen any other post in this blog, you've seen the table of contents above, or the cookie message to the right.
Both are dynamic elements programmed in HTML and javascript which you can insert anywhere in your WordPress site using a "Custom HTML" block.
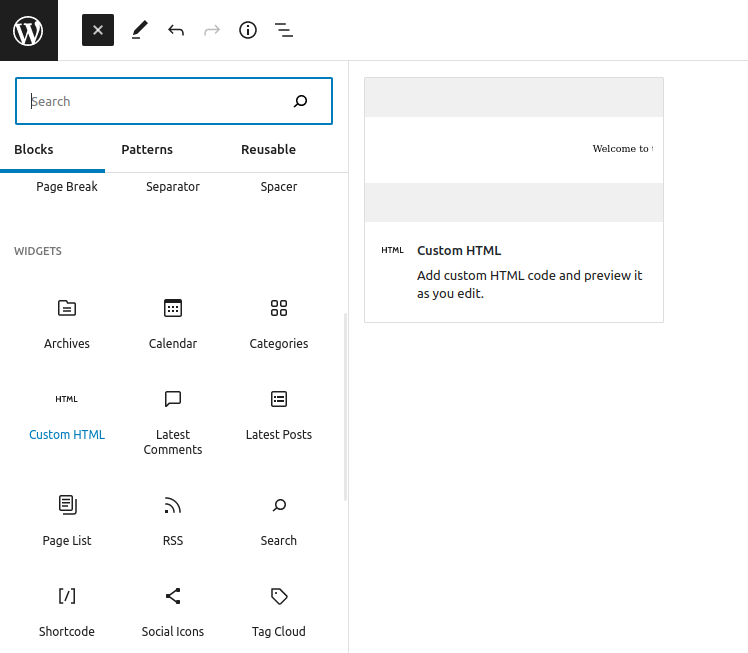
Just insert this type of block and inside you can introduce a customizable HTML and program with javascript. Let's see a couple of examples.
Cookie notice
The sidebar in this blog shows a cookie consent message with a hyperlink to the privacy policy.
You might have noticed that the content changes automatically when you switch languages.
For it to work properly, imagine that the Custom HTML block is an iframe or some kind on sub-site inside this website.
You can edit the content of the Custom HTML as if it was an external site, and freely add anything you want.
For the cookie notice I just want a line of text, and I assign "cookie-txt" as an id. It is good to add the HTML structure, but you can avoid most of it.
<html>
<body>
<p id="cookie-txt"></p>
</body>
</html>
Now I add a javascript function which reads the site language and fills this line according to it.
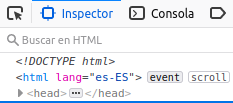
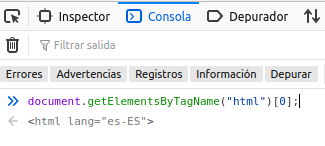
You can do different tests using the inspector and console of your browser, right-clicking in the webpage.
A fast way to get the language is reading the lang property of the <html> element of the site.
The rest is a condition:
- If it detects "es-ES", message is defined in Spanish.
- If it detects "en-GB", message is defined in English.
The content of the message is defined in the innerHTML property of the <p> element, so it can be formatted with HTML tags adding a hyperlink or bold text.
<script>
var lang=document.getElementsByTagName("html")[0].lang;
if(lang=="es-ES"){
document.getElementById("cookie-txt").innerHTML="🍪 <a href='https://theroamingworkshop.cloud/b/?page_id=1225' target='_blank'>Política</a> <b>anti-Cookies</b> aceptada al navegar.</p>";
}else if(lang=="en-GB"){
document.getElementById("cookie-txt").innerHTML="<b>🍪 anti-Cookies</b> <a href='https://theroamingworkshop.cloud/b/?page_id=3' target='_blank'>policy</a> accepted while browsing.";
}
</script>
It would look like this:
The full code of the Custom HTML block showing the cookie notice is the following:
<html>
<body>
<p id="cookie-txt"></p>
</body>
<script>
var lang=document.getElementsByTagName("html")[0].lang;
if(lang=="es-ES"){
document.getElementById("cookie-txt").innerHTML="🍪 <a href='https://theroamingworkshop.cloud/b/?page_id=1225' target='_blank'>Política</a> <b>anti-Cookies</b> aceptada al navegar.</p>";
}else if(lang=="en-GB"){
document.getElementById("cookie-txt").innerHTML="<b>🍪 anti-Cookies</b> <a href='https://theroamingworkshop.cloud/b/?page_id=3' target='_blank'>policy</a> accepted while browsing.";
}
</script>
</html>
In this case, the block is inserted as an element in the sidebar:
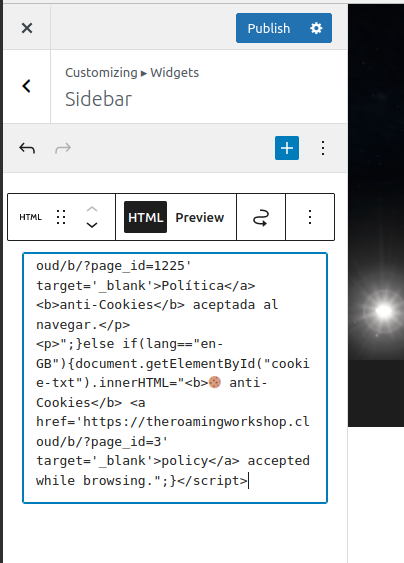
Table of contents
The table of contents that appears in every post is done in the same way.
Firstly, I will define the table giving it some format and leaving the content empty so it's filled later by a function.
<div id="menu" style="padding:20px 20px 20px 20px; border-left:2px solid darkgrey;">
<p style="font-weight:bold;">Contenido</p>
</div>
In this case, I will search for "headings" or titles of each section, specifically for <h2> tags. For this reason, when writing every post I must always use this type of heading (which is default) if I want it to appear in the table.
Additionally, I define the html Anchor property, which will assign and "id" that will allow to create a hyperlink that takes us to that heading.

Then a function will do the following:
- Search for <h2> tags one by one.
for (let i=0;i < window.document.getElementsByTagName("h2").length; i++) { element = window.document.getElementsByTagName("h2")[i];... - Get the text inside.
text = "▹ "+element.innerHTML; - Create a new hyperlink (<a>) element which will go in the table of contents, with the previous text.
var newelement = document.createElement("a"); newelement.innerHTML=text; - Get the post "id" and heading "id" to create a hyperlink to this heading.
var postid = window.document.getElementsByTagName("article")[0].id;
var url = "https://theroamingworkshop.cloud/b/?p="+postid.substr(5,postid.length)+"#"+element.id; - Insert it as a new child in the table of contents.
newelement.setAttribute("href", url); newelement.appendChild(document.createElement("br")); window.document.getElementById("menu").appendChild(newelement);
TIP! Adding #section-id at the end of any URL it will take you to such section.
- Finally, some pages take a bit of time to load and the headings wont be available, so I'll add the previous code inside a function and call it using a timeout.
window.setTimeout(fillmenu,500);
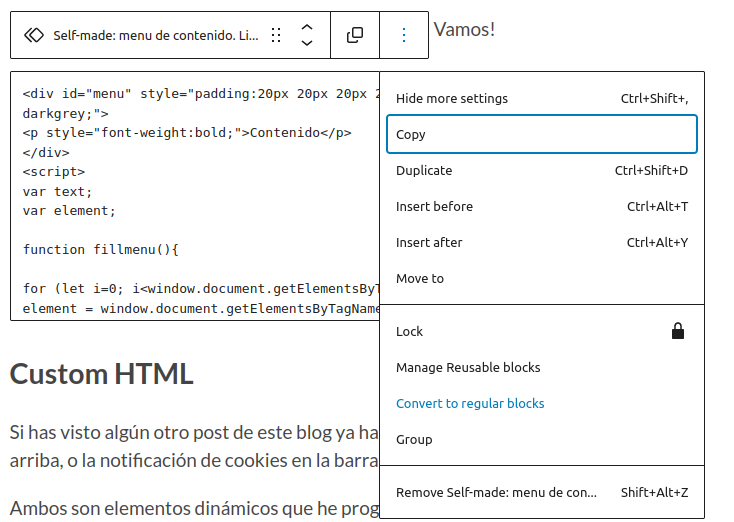
The full code for the block will be like this:
<div id="menu" style="padding:20px 20px 20px 20px; border-left:2px solid darkgrey;">
<p style="font-weight:bold;">Contenido</p>
</div>
<script>
var text;
var element;
function fillmenu(){
for (let i=0; i<window.document.getElementsByTagName("h2").length; i++){
element = window.document.getElementsByTagName("h2")[i];
text = "▹ "+element.innerHTML;
var newelement = document.createElement("a");
newelement.innerHTML=text;
var postid=window.document.getElementsByTagName("article")[0].id;
var url = "https://theroamingworkshop.cloud/b/?p="+postid.substr(5,postid.length)+"#"+element.id;
newelement.setAttribute("href", url);
newelement.appendChild(document.createElement("br"));
window.document.getElementById("menu").appendChild(newelement);
}
}
window.setTimeout(fillmenu,500);
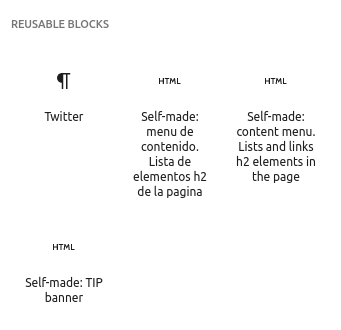
</script>TIP! Add this HTML block to your reusables and you can insert it in any other post.
TIP! block
TIP! This TIP! block is another example. You'll have to convert it back to a regular block if you want to change the content only in this inserted block.
Here's the code:
<p style="border-left:3px solid orange;padding-left:5px;font-size:14px;"><i><b>TIP! </b>This <b>TIP!</b> block is another example. You'll have to convert it back to a regular block if you want to change the content <b>only</b> in this inserted block.</i></p>Conclusion
As you can see, there are unlimited possibilities and it's up to your imagination.
Be creative and design your own widgets, they will add value to your blog!
As always, doubts or comments on Twitter 🐦 See you soon!
(the Twitter block is also a reusable 👀 )
